How to Remove Glue-In Extensions With Less Risk of Breakage
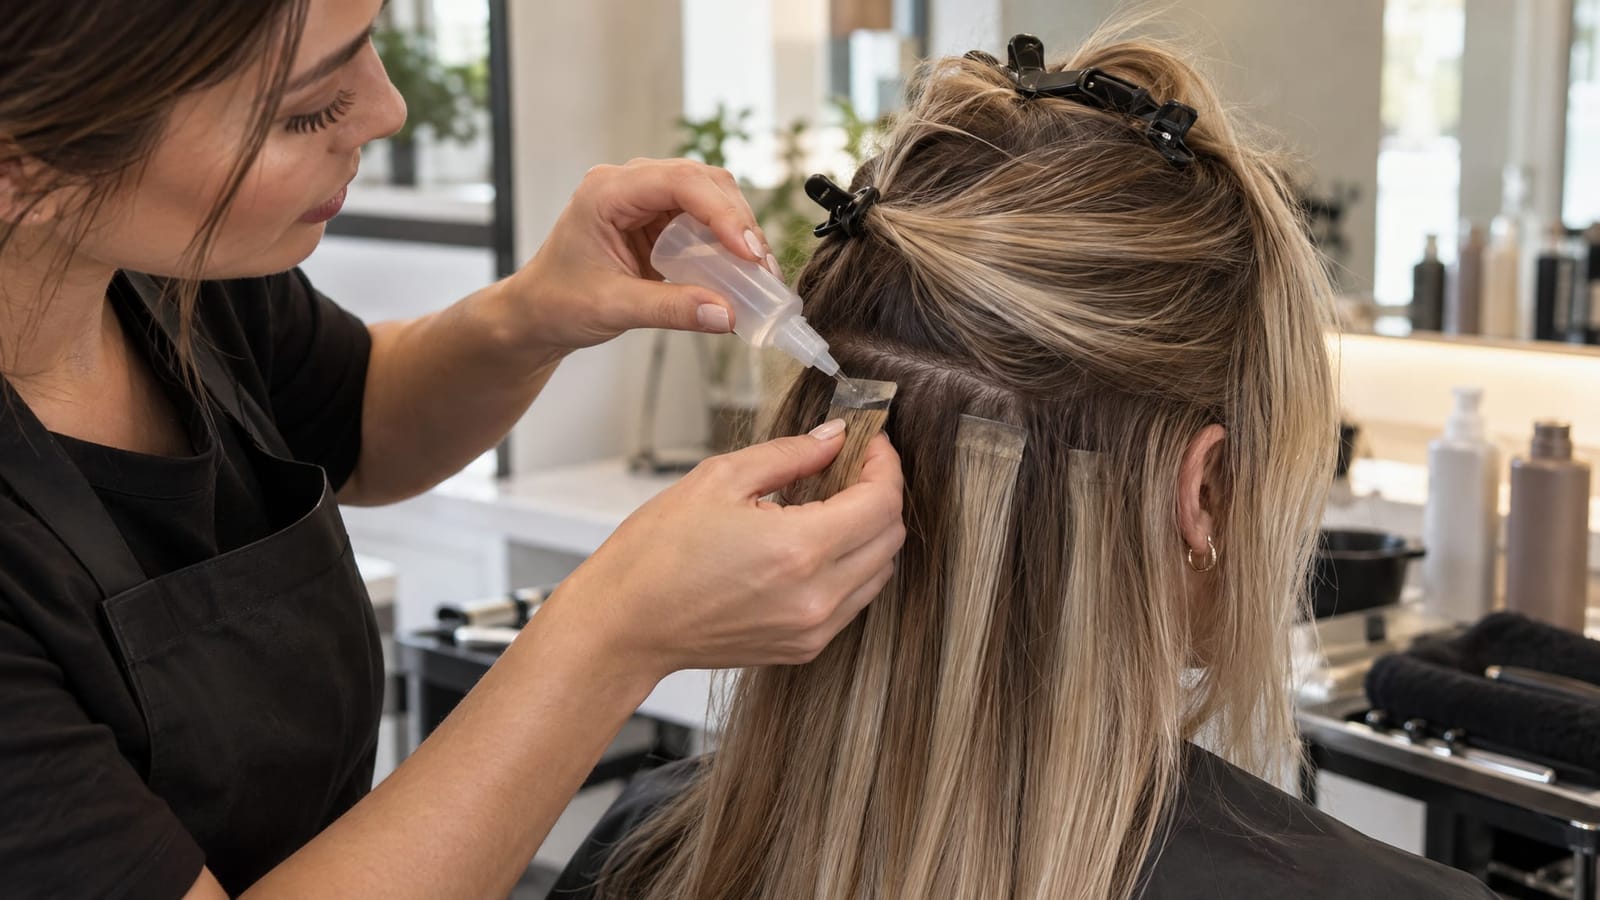
To remove glue extensions safely, focus on releasing the adhesive before separating the extension from your natural hair. That means identifying the bonding product, using a compatible hair-extension remover, and working in small sections without pulling. Oil, shampoo, and extra force are not interchangeable solutions.
No removal method guarantees zero breakage. Professional help is especially valuable when attachments are difficult to reach or natural hair has become tangled around the glue. The steps below explain the removal process, where self-removal becomes risky, and how to care for your hair afterward.
Step 1: Identify the Attachment Before Choosing a Remover
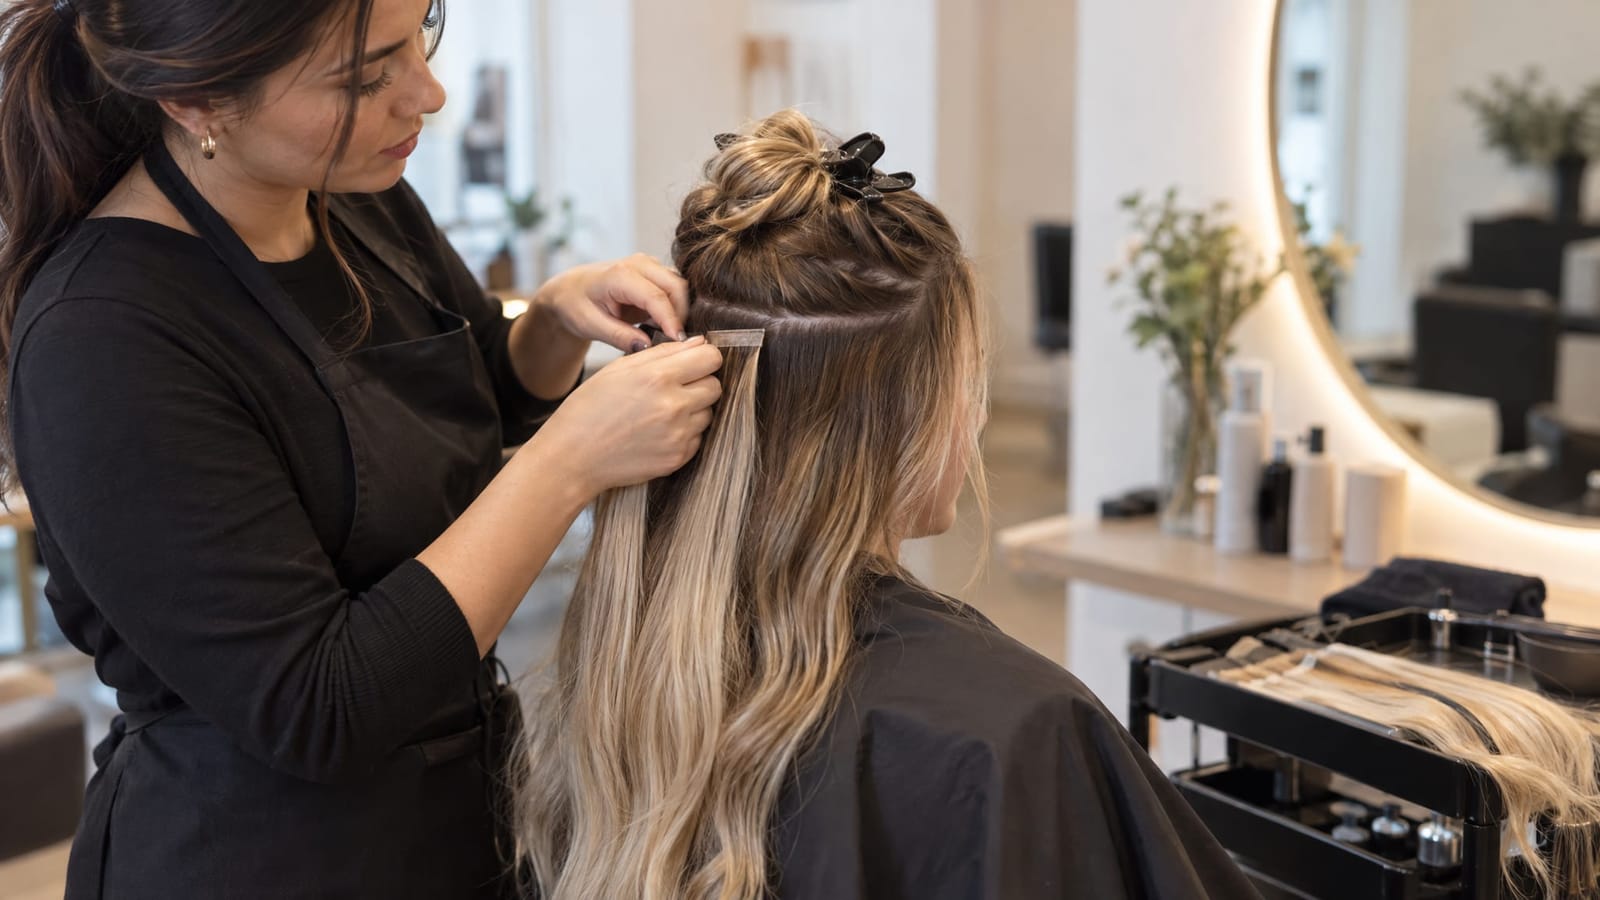
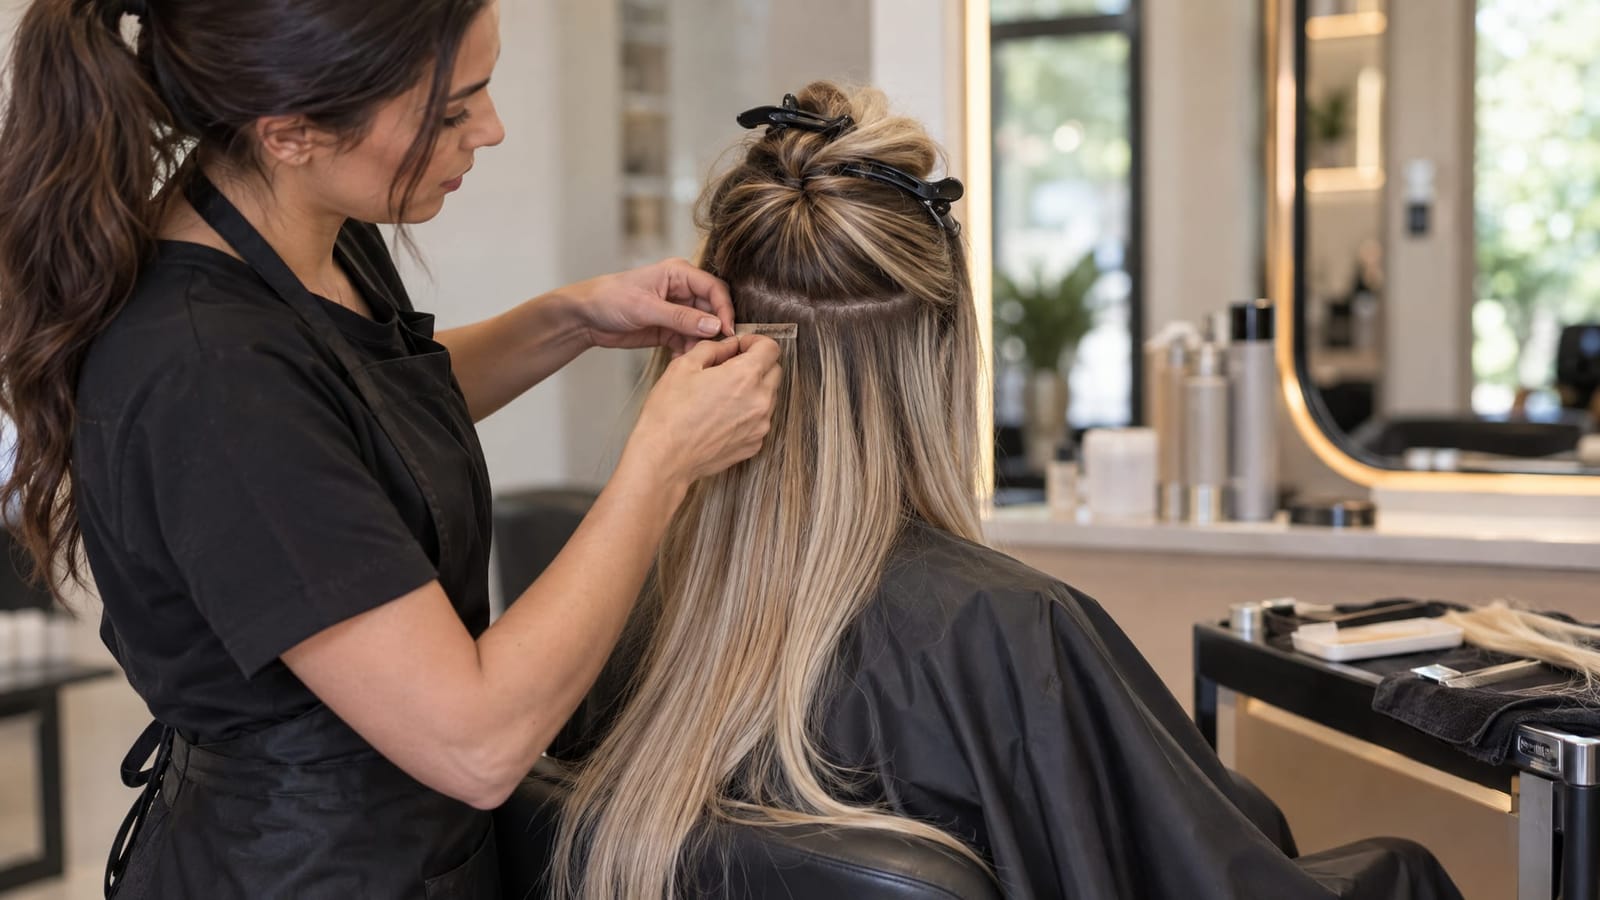
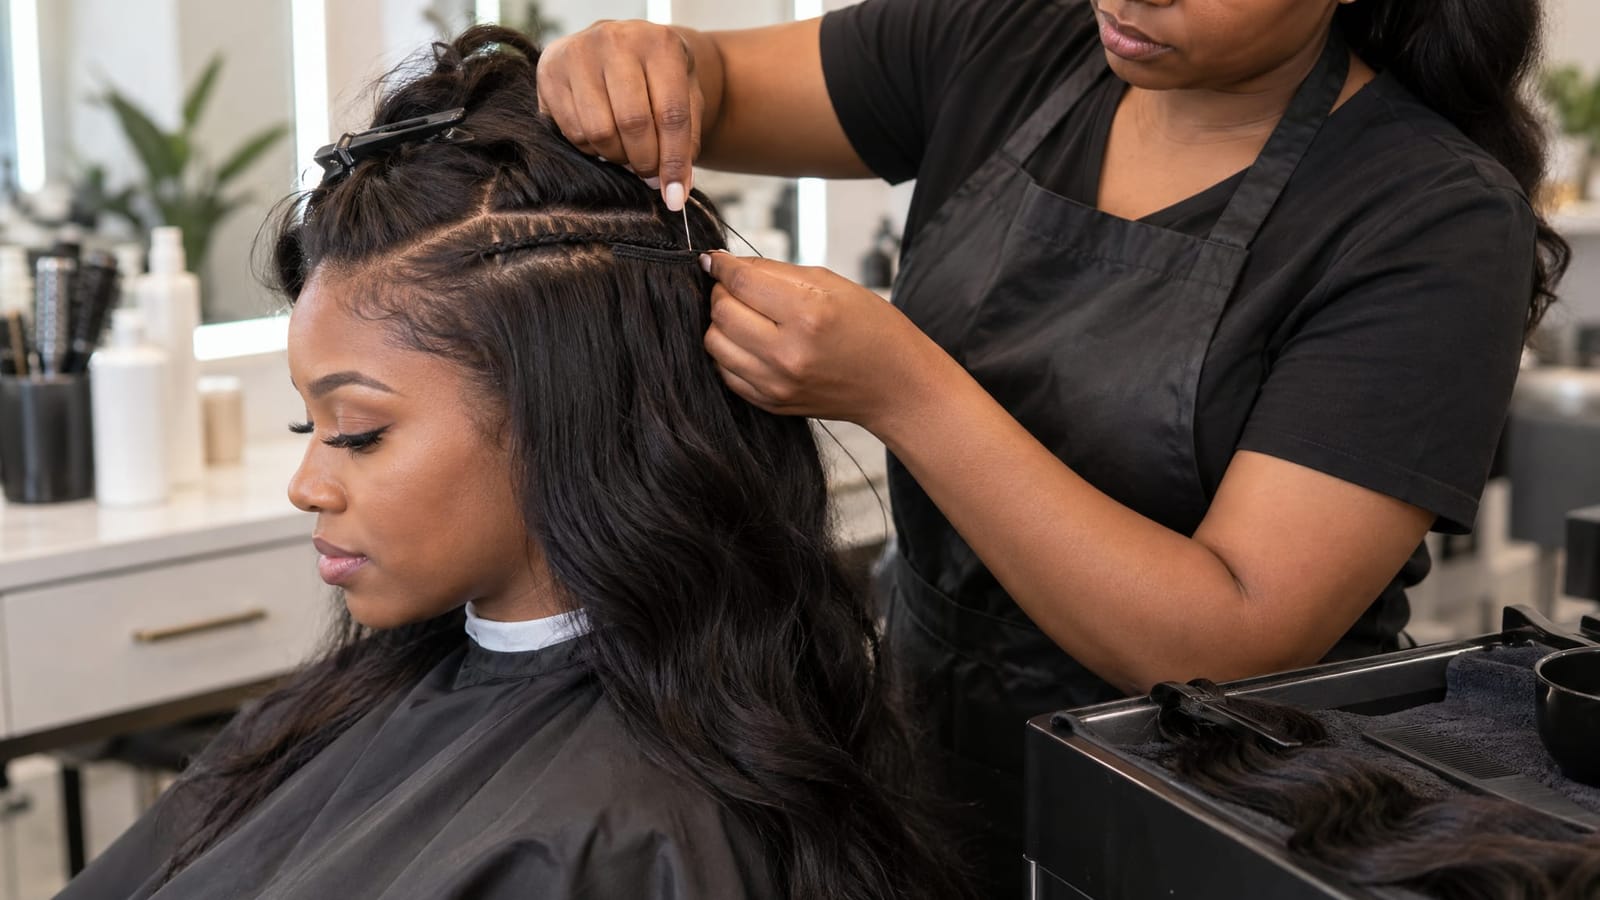
“Glue-in extensions” can describe different installations. A glued weft is a strip of extension hair attached with bonding adhesive. A quick weave may involve wefts attached to a cap or protective foundation. Individual keratin bonds and tape-in extensions use different attachment systems and removal methods.
At Kabelly Dominican Salon in Clinton, we offer glue extensions and quick weaves. The attachment method matters at removal, even when two finished styles look similar.
Start with the installation details: the adhesive name, where it was applied, and whether a protective foundation sits between the extensions and your hair. A cap does not automatically mean the entire style can be lifted away without first releasing attached areas.
Step 2: Decide Whether You Can Access Every Attachment
Self-removal becomes difficult when you cannot see or comfortably reach the bonds, particularly around the back of your head. Working by feel makes it easier to mistake trapped natural hair for an attachment that is ready to release.
Professional removal is a better choice when:
- Natural hair is tangled into or around the adhesive.
- Several wefts overlap and obscure the attachment points.
- You cannot identify the bonding product.
- A previous attempt has left partly loosened extensions and sticky sections.
A licensed cosmetologist can assess the attachment and separate sections with better visibility. Scalp pain, broken skin, or a reaction to a product calls for guidance from a licensed healthcare professional before removal continues.
Step 3: Match the Product to the Glue
Professional stylists select removal products for the adhesive involved, rather than choosing the strongest solvent available. Depending on the bonding system, that may mean an oil-based remover or another purpose-made formula labeled for that type of hair-extension glue.
Read the remover’s directions for application, contact time, cleanup, and precautions. A product intended for tape adhesive is not automatically suitable for glued wefts. Color-treated hair also needs a remover compatible with the hair and attachment system.
For an accessible installation with a clearly identified adhesive, preparation includes:
- The compatible extension adhesive remover.
- Sectioning clips to keep loose hair away from working areas.
- A towel and adequate lighting.
- A wide-tooth comb for detangling after the adhesive is gone.
Nail-polish remover, household cleaners, and dish soap are not substitutes for a compatible extension adhesive remover. Mixing products is not a reliable shortcut.
Step 4: Soften One Attachment at a Time
Clip unrelated hair out of the way so the attachment is visible. Apply the remover only as its label directs, keeping it away from the eyes and avoiding unnecessary contact with surrounding skin.
There is no universal waiting time. The product directions determine how long the remover stays on and whether another application is appropriate. An attachment that feels oily on the outside may still be firmly bonded underneath.
Working on one small area at a time makes it easier to distinguish softened adhesive from glue that is still holding. Avoid improvising with heated tools to speed up the process. If the bond remains firm after the directed treatment, stop that section rather than experimenting with stronger products.
Step 5: Release the Weft Without Pulling Natural Hair
Once the adhesive has softened sufficiently, gently support the natural hair near the attachment while easing the weft away. The aim is separation at the glue, not tension at the roots.
A weft that releases at one end may still be attached elsewhere. Continue checking along its length instead of pulling the entire strip in one motion. If natural hair stretches or moves with the extension, the attachment is not ready to separate.
Keep scissors away from glue-covered sections. Natural strands can be concealed inside the adhesive, making it difficult to tell what is being cut.
Step 6: Remove Residue Before Detangling
Taking out the extension does not finish the removal process. Remaining glue can catch neighboring strands and turn a small knot into a larger tangle.
Check each released section for sticky or hardened areas. Address residue using the remover’s cleanup directions before drawing a comb through that section. Trying to comb adhesive out can pull on the hair caught inside it.
Once a section is free of glue, separate it gently with your fingers. Follow with a wide-tooth comb, beginning at the ends and gradually working upward while supporting the section. Keep cleared hair separate from areas that still contain adhesive.
Step 7: Cleanse, Condition, and Choose a Low-Tension Style
Follow the remover’s cleanup instructions, then cleanse thoroughly to remove loosened adhesive and product residue. Keep the hair organized in manageable sections rather than piling it together and scrubbing vigorously.
Condition afterward to improve softness and slip, paying attention to the lengths and ends. Use the conditioner’s recommended processing time. More product or a longer wait does not necessarily produce a better result.
Conditioning can make hair easier to handle, but it cannot reattach broken strands or permanently mend split ends. A trim may be useful for split ends that continue to catch during detangling.
For the next style, choose something loose and easy to manage. Avoid immediately covering leftover glue or unresolved tangles with another installation.
Common Questions About Glue-In Extension Removal
Can coconut or olive oil remove extension glue?
Oil may loosen some adhesives, but it does not work reliably across bonding systems. A slippery weft is not proof that its bond has released. Choose removal products according to the adhesive rather than relying on a kitchen oil.
Why is there loose hair after removing extensions?
Naturally shed strands can remain caught within an installation and appear together during removal. Loose hair alone does not tell you how much breakage occurred. Avoid judging the removal by the size of the collected hair bundle.
Can the extension wefts be reused?
Reuse depends on the extension material, the condition of the weft, and its care instructions. Hardened glue, a weakened seam, or tangling can make reuse impractical. Keeping a weft intact is never a reason to pull harder on your natural hair.
The Priority Is a Clean Release
Successful removal is not about finishing quickly. Match the remover to the adhesive, release each attachment without force, and clear residue before detangling. Gentle cleansing and conditioning then prepare your natural hair for its next style.