How to Remove Glue Extensions Without Damaging Your Natural Hair
If you've been wearing glue extensions and you're ready for a change, how you remove them matters just as much as how they were applied. Improper removal is one of the most common reasons women experience breakage, thinning, and setbacks after wearing extensions, and yet it's also one of the most preventable. As part of The Complete Guide to Maintaining Hair Extensions: What Every Woman in the DMV Should Know, this post breaks down exactly what a professional extension removal process looks like, why going DIY can backfire, and how the right aftercare sets you up for healthier hair going forward. Whether you're in your first set of glue-ins or you've worn them for years, these best practices will help you protect your natural hair at every stage of the removal journey.
1. Always Schedule a Professional Removal: Not a DIY Session
The first and most important best practice in the professional extension removal process is simple: don't try to remove glue or keratin bond extensions on your own. It might seem straightforward, there are videos online and products at the beauty supply store, but the reality is that the bond used in glue-in and K-tip extensions is designed to hold through washing, heat styling, and daily movement. That's the same bond you'd be trying to break without proper tools or training.
Glue extensions use a keratin or heat-activated adhesive that bonds directly near the root of your natural hair. When that bond is removed without the right technique, the risk of snapping or pulling out your natural strands alongside the extension is significant. Studies from professional stylist training organizations note that improper at-home bond removal is a leading cause of preventable mechanical hair damage in extension wearers.
At a salon like Ka Belly, the professional extension removal process is approached with care, precision, and the right products from start to finish. Booking a professional removal appointment, rather than sitting at home with a bottle of olive oil and a hair tie, is the single best thing you can do for your natural hair health before a new set.
Why This Step Sets the Tone for Everything Else
Choosing professional removal isn't just about avoiding damage in the moment. It also allows your stylist to assess how your natural hair held up during the wear period, identify any areas that need extra attention, and recommend the right next steps, whether that's a treatment, a trim, or a short break before reapplying.
2. Understand What the Professional Removal Process Actually Involves
One reason women sometimes skip professional removal is that they don't fully understand what's involved, and it seems like it should be simple. Knowing what actually happens during a salon removal can help you appreciate why it takes the time it does and why shortcuts aren't worth taking.
Glue and K-Tip Extension Removal (K-Tip / I-Tip)
Keratin bond extensions, including K-tip and I-tip styles, are among the most common glue-based extension types worn in the DMV area. The professional removal process for these typically takes between 90 minutes to 2 hours, depending on how many bonds are in place and how long the extensions have been worn.
Here's how a trained stylist approaches it:
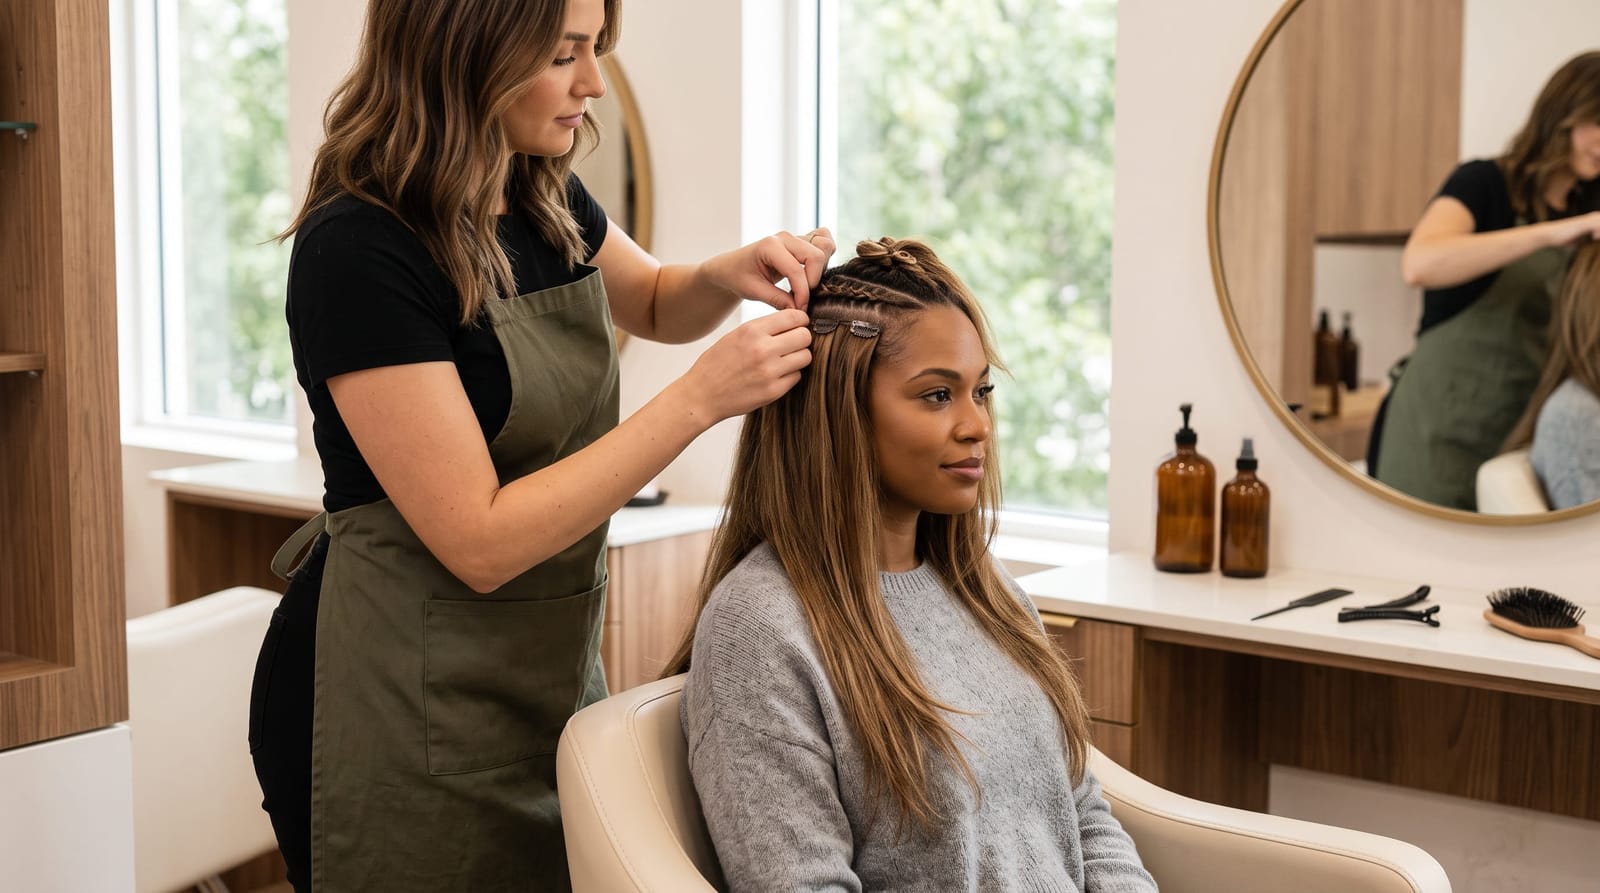
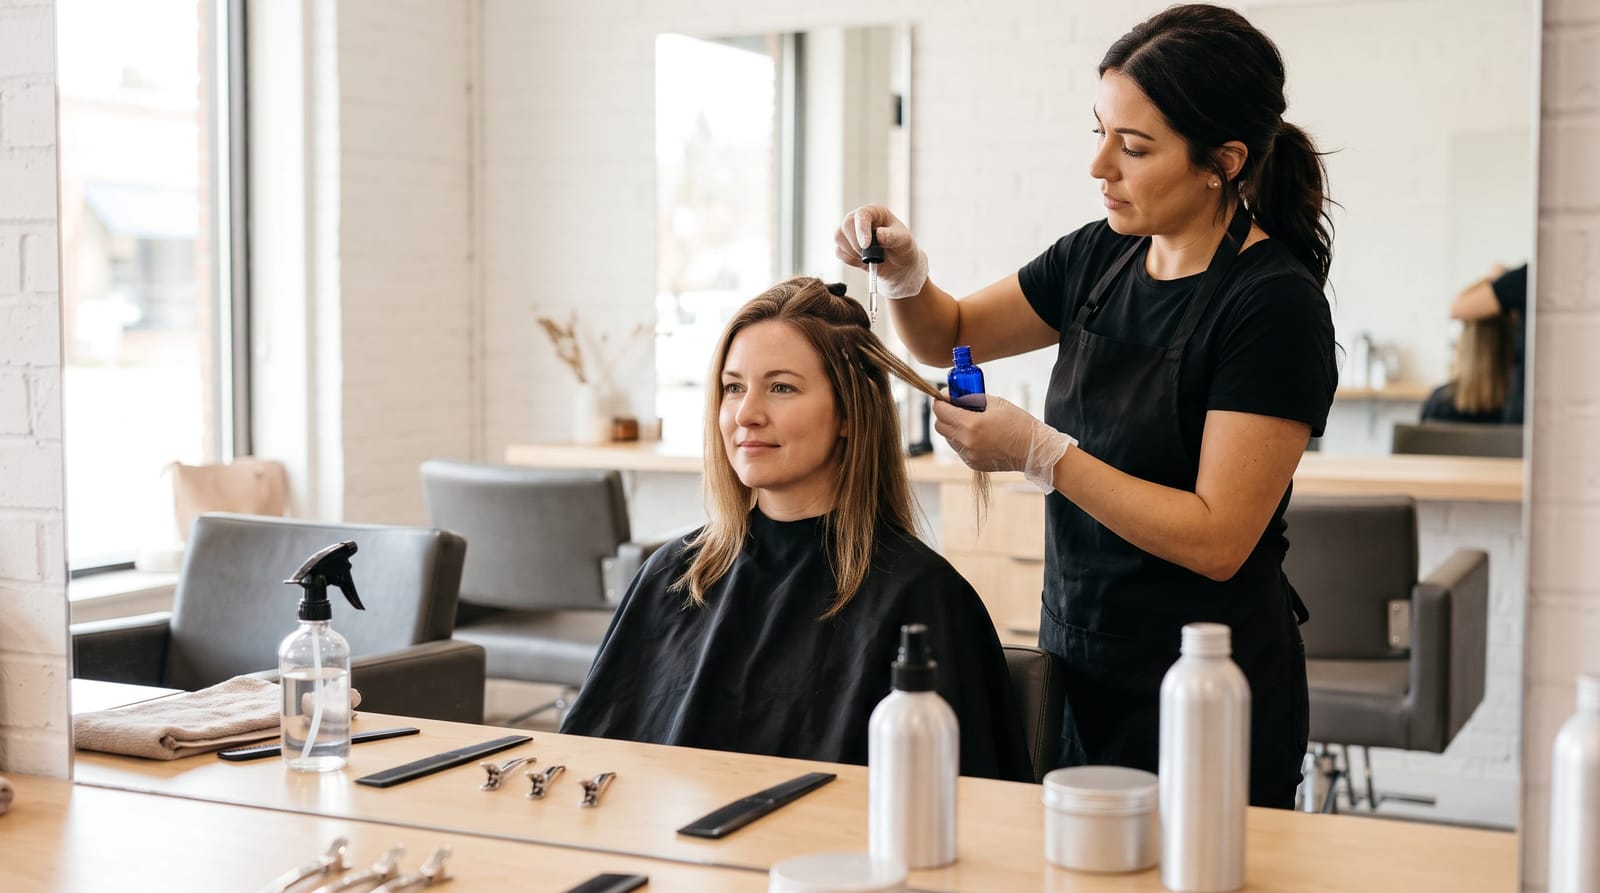
- Bond softening: A professional-grade adhesive remover or bond-breaking solution is applied directly to each keratin bond. This product is formulated to dissolve the adhesive without stripping the natural hair strand: a critical distinction from generic removers you'd find at a beauty supply store.
- Careful bond cracking: Once the bond has been sufficiently softened (usually after a few minutes of saturation), a professional removal tool, often a flat-nose plier designed specifically for this purpose, is gently pressed against the bond only, not the hair itself, to crack it open. The pressure is always applied to the bond, never squeezed directly onto the hair strand.
- Gentle slide-down removal: With the bond cracked and softened, the extension strand is carefully slid downward and away from the natural hair. Any residual adhesive left on the natural hair is treated again with remover and gently worked out before moving to the next bond.
Tape-In Extension Removal
Tape-in extensions follow a similar principle but move faster. Professional tape-in removal typically takes 45 minutes to 1 hour. An adhesive remover spray or gel is applied to loosen the tape sandwich, the remover is allowed to work for several minutes without rushing, and the tape tabs are then peeled apart slowly and deliberately. Rushing this step, or skipping the remover entirely, is what causes the tape to take natural hair with it.
3. Recognize the Real Risks of DIY Removal
DIY glue extension removal is one of those things that seems manageable until it isn't. The risks aren't hypothetical: they're the reason many women walk into salons looking for help after attempting removal at home. Understanding what can go wrong is a powerful motivator for doing it right.
Mechanical Breakage
Without the right bond-softening product, the adhesive doesn't release cleanly. Pulling or peeling at a bond that hasn't fully loosened puts direct tension on your natural hair at the root: exactly where the strand is most vulnerable. This is where breakage happens, and in some cases, it can mean losing more than just the extension strand.
Residue Left on the Scalp and Hair
Even when the extension itself comes out, leftover adhesive residue on the natural hair can cause tangling, matting, and buildup that's difficult to remove without further damage. Professional stylists have specific tools and follow-up products to address residue thoroughly: something that's hard to replicate at home.
Improper Tools
Household tools, scissors, combs, fingers, aren't designed for bond removal. Improvised tools increase the likelihood of uneven pressure, snagging, and accidental cutting of natural hair. Professional-grade pliers are shaped and sized to grip only the bond, not the surrounding hair.
If you've been wearing glue extensions duration that has extended beyond the recommended wear cycle, your bonds may have grown out significantly and could be more fragile: making professional removal even more essential at that stage.
4. Know What to Expect for Your Natural Hair After Removal
>After any set of glue extensions is removed, even with the gentlest, most professional process, your natural hair will need some attention. This is completely normal and expected. Extensions don't damage hair simply by existing; the wear period means your natural strands have been bundled together, exposed to less direct cleansing, and protected from environmental styling in ways they're not used to. Coming out from under a set of extensions is a transition your hair needs support through.
What You May Notice Immediately Post-Removal
- Some shedding: this is accumulated natural shedding (the average person loses 50 to 100 hairs per day) that wasn't able to fall freely while extensions were in place. It looks like more than it is.
- Dryness or slight tangles at the root area, especially if the extension wear period was on the longer side.
- A feeling of lightness and tenderness at the scalp that normalizes within a few days.
What you should not notice after a professional removal, but might after a rough DIY one, is significant breakage at the roots, clumps of hair on the floor, or visible thinning. If you want a deeper look at what your natural hair goes through during a glue extension wear period, our post on chemical hair damage signs walks through what to look out for under extensions and why monitoring your hair's condition matters throughout the process.
5. Prioritize Aftercare Treatment Immediately Following Removal
The removal appointment doesn't end when the last extension comes out. What happens to your hair in the hour, and the weeks, following removal is a major part of the professional extension removal process and cannot be skipped.
In-Salon Treatment at the Time of Removal
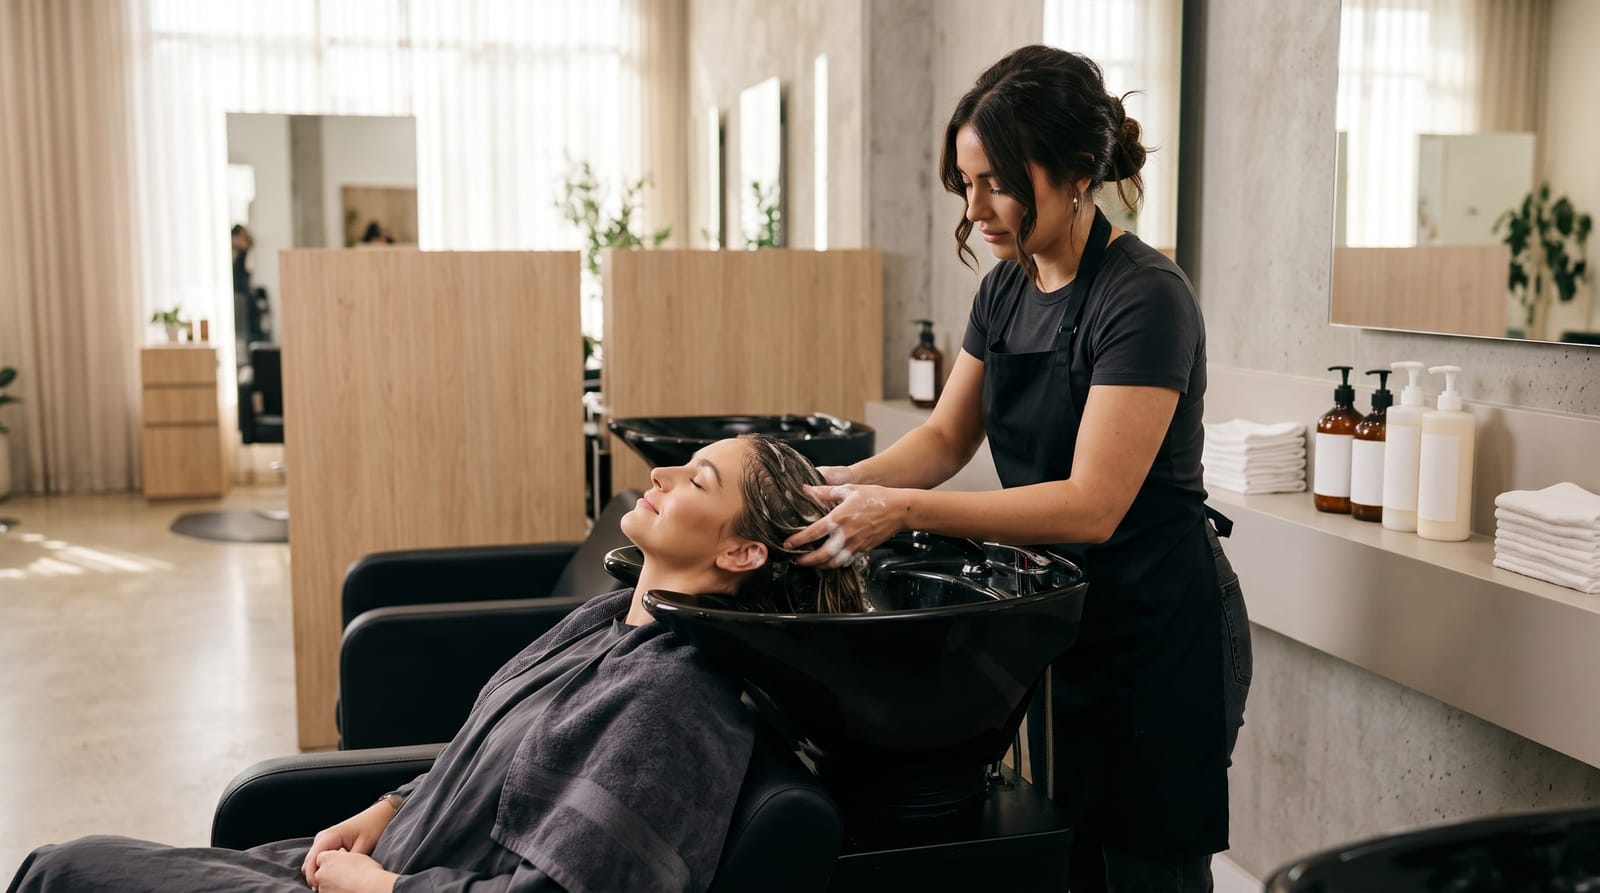
A professional removal appointment at a salon like Ka Belly typically includes a clarifying wash to remove adhesive residue and any product buildup that accumulated during the wear period. This is followed by a deep conditioning or protein treatment: the specific type your stylist recommends will depend on the current condition of your hair. Research suggests that deep conditioning treatments can improve hair moisture retention by up to 30% in the weeks immediately following extension removal, making this step one of the most impactful things you can do right after a removal session.
At-Home Aftercare in the Weeks Following
- Gentle, sulfate-free cleansing 1-2 times per week to maintain scalp health without stripping natural oils.
- Regular deep conditioning masks (at least once weekly for the first 3-4 weeks post-removal).
- Reduced heat styling while your natural hair recalibrates: this is a great time to embrace protective styles or low-manipulation looks.
- Avoiding tight braids or updos that put tension on roots that may still be tender.
If you're wondering which specific treatment is right for your hair after removal, our guide on hair needs deep conditioning signs covers how to identify what your hair is asking for and which conditioning approaches address those needs most effectively.
6. Use the Removal Appointment as a Checkpoint Before Your Next Set
One of the underrated benefits of a professional removal appointment is that it gives you and your stylist a clear picture of your hair's current health before deciding what comes next. This is your moment to have an honest conversation about whether your hair is ready for a new set, whether it needs a recovery period, or whether a different extension method might suit your lifestyle better going forward.
Your stylist can evaluate factors like density, growth patterns, any breakage that may have occurred, and your scalp's condition: information that directly shapes the recommendation for your next extension experience. This is also the right time to discuss things like your sleep habits (protecting sleeping with clip extensions is a whole conversation on its own), your daily routine, and how much maintenance you're realistically able to keep up with.
If you've ever wondered whether your hair is a good candidate for a fresh set, especially if it's shorter or has gone through some stress, our post on conditioning for damaged hair explores what it takes to prepare natural hair for extensions and when it makes sense to invest in strengthening your base first.
The removal appointment is also a good moment to think about your next style goals. Whether you're considering a different length, a new texture, or a method that's easier on your lifestyle, discussing extension length face shape options with your stylist can make the next chapter of your extension journey feel even more intentional and tailored to you.
Related Topics Worth Exploring
The professional extension removal process is one part of a bigger picture when it comes to wearing and caring for extensions with confidence. Here are a few related posts that go deeper on specific questions that often come up around this topic:
- What your natural hair experiences during a glue extension wear period, and how to monitor it: covered in our post on chemical hair damage signs.
- How to choose the right deep conditioning treatment for your hair after extensions come out: our guide on hair needs deep conditioning signs breaks it down clearly.
- Whether short or previously stressed hair can support a new set of extensions: explored in our post on conditioning for damaged hair.
Final Thoughts
The professional extension removal process is every bit as important as the application, and treating it as a non-negotiable part of your extension care routine is one of the best investments you can make in your natural hair's long-term health. From booking a professional appointment instead of attempting removal at home, to understanding the step-by-step process for glue and K-tip bonds, to prioritizing aftercare in the weeks that follow, every best practice in this guide comes back to the same idea: your hair deserves to be handled with intention, skill, and care.
Ready to book your removal and aftercare treatment with a stylist who takes your natural hair seriously? Ka Belly Salon is here to walk you through every step of the process, so you leave the chair feeling refreshed, healthy-haired, and ready for whatever comes next.