How to Prevent Breakage and Shedding When Taking Down Braids
Taking down braids is one of those hair care moments that can go either really well, or really wrong. For many women in the DMV, braid takedown day brings a mix of excitement and anxiety. You want your natural hair back, but you also want to protect it. Excessive shedding and breakage during braid removal are among the most common concerns in the protective style community, and for good reason. The good news? Most of this damage is preventable. This guide walks you through everything you need to know, from detangling techniques and product application to why a professional post-braid service can make all the difference when you're ready to prevent extension damage and restore your hair after weeks in braids.
Why Braid Takedown Is a High-Risk Moment for Your Hair
Protective styles are designed to give your natural hair a break. But here's something many people don't realize: the hair that sheds normally while you're wearing braids doesn't fall out the way it usually would. Instead, it gets trapped inside the extension hair and coils around your natural strands. After 6 to 8 weeks of braids, a common wear period, that built-up shed hair can make takedown feel alarming. Studies and dermatologist guidance suggest that the average person sheds between 50 and 100 hairs per day. Multiply that across 8 weeks and you're looking at potentially 2,800 to 5,600 shed hairs waiting to come out at once.
That volume of trapped shedding is completely normal. The problem comes when those shed hairs are yanked out during rough removal, pulling healthy strands with them. This is exactly the kind of friction and tension that leads to real breakage, not just normal shedding. Understanding this distinction is the first step toward preventing damage.
The Difference Between Shedding and Breakage
Shedding refers to hairs that have naturally completed their growth cycle and detach at the root. Breakage happens when a hair strand snaps mid-shaft, usually due to dryness, tension, or force. During braid removal, both can occur, but breakage is the one you want to minimize. Shedding is unavoidable. Breakage is largely preventable with the right approach.
Step 1: Set Yourself Up Before You Start
Preparation is everything when it comes to minimizing damage during braid removal. Rushing the process is one of the top reasons women experience unnecessary breakage. Give yourself a full 3 to 4 hours for a proper takedown: longer if you have a full head of long braids or box braids with significant new growth.
Gather the Right Tools
Using the wrong tools makes the process harder and more damaging. Before you begin, make sure you have:
- A rat-tail comb or pointed styling tool for separating sections
- A wide-tooth comb for gentle detangling after removal
- Sharp scissors (for cutting extension hair, not your natural hair)
- Hair clips or scrunchies for sectioning
- A spray bottle filled with water or a detangling mist
Don't Skip the Pre-Treatment Step
Applying a lightweight oil or detangling conditioner to each braid before removal can significantly reduce friction. Oils like argan or jojoba work well because they soften both the extension hair and your natural hair without causing slippage that makes unbraiding more difficult. Apply product section by section as you work through the hair, not all at once at the start.
Step 2: Use the Right Removal Technique
How you physically remove the braids matters as much as any product you use. Working from the ends up, rather than from the root down, is the single most important technique to prevent extension damage during takedown.
The Bottom-Up Method
Start at the very end of each braid. Hold the braid firmly just above the point where you're unraveling and gently loosen the extension hair from the bottom up. This removes the bulk of the extension hair first, which significantly reduces tension on your natural strands at the root. Pulling from the root first puts immediate stress on your scalp and causes unnecessary breakage near the base of the hair.
Work in Small Sections
Trying to detangle an entire side of your head at once is one of the most common DIY mistakes. Work in small, manageable sections: no wider than 2 inches at a time. Clip the finished sections away so they don't tangle with what you're still working through. This keeps the process organized and reduces the overall friction your hair experiences.
If You Hit a Knot, Stop and Detangle First
When you hit a knot or tangle, do not pull through it. Stop, apply a small amount of detangling product or water to the area, and work from the end of the knot upward with your fingers before introducing a wide-tooth comb. This gentle approach is the core of preventing breakage during braid removal.
Step 3: Detangle Carefully After Each Section Is Released
Once a section of extension hair has been removed, your natural hair still needs attention before you move on. The hair in that section will be coiled, tangled with shed strands, and likely dry. This is the most critical phase for preventing extension damage.
Fingers First, Then Combs
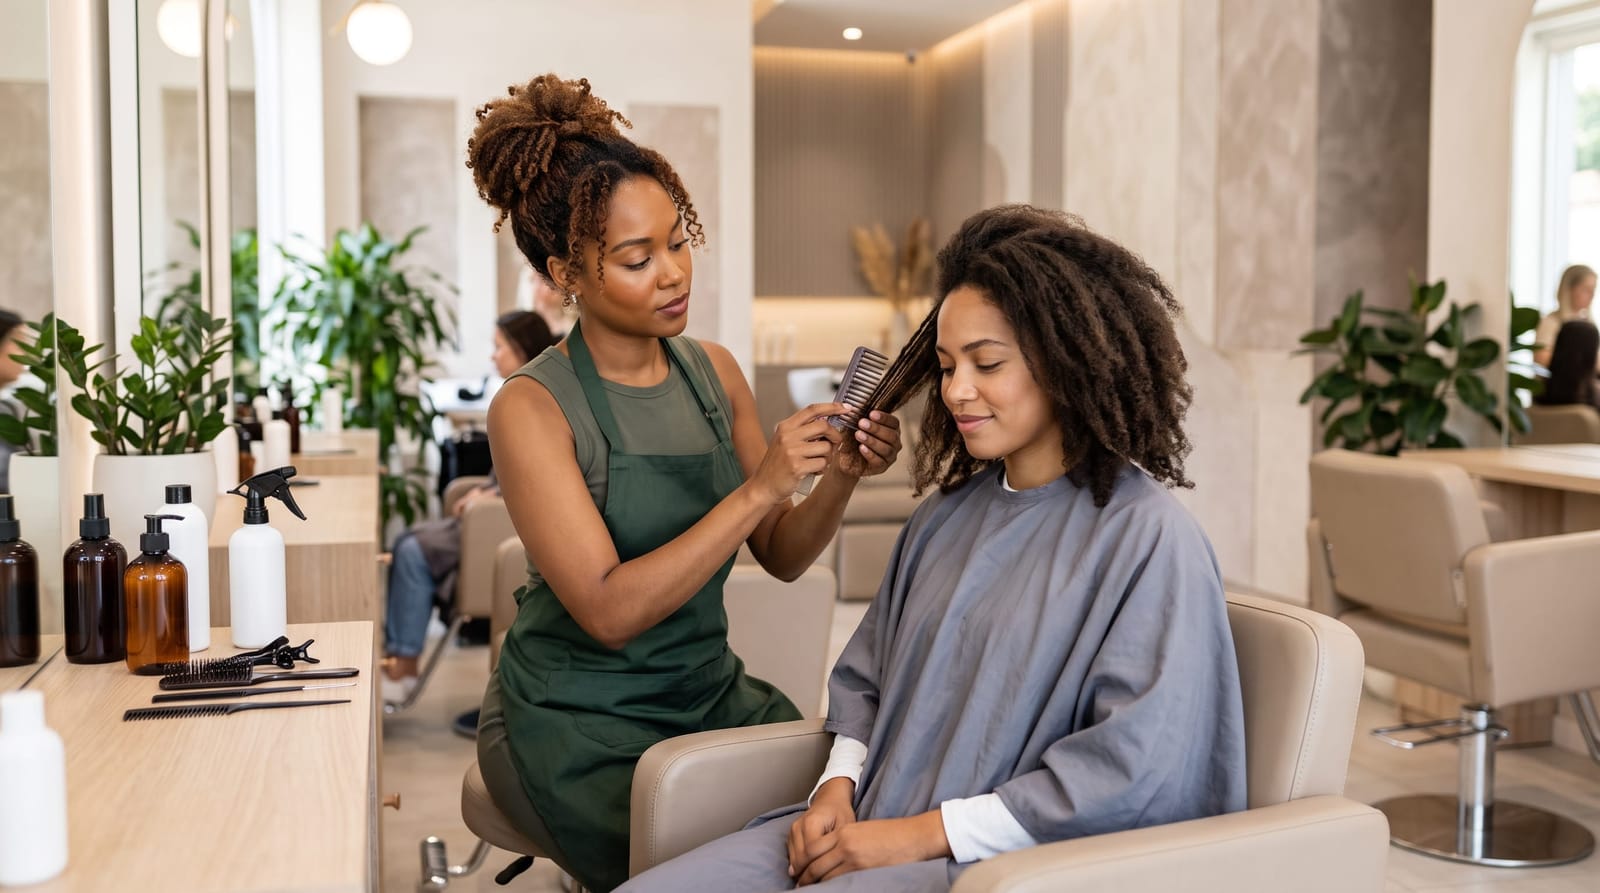
Always begin detangling with your fingers. Work slowly from the ends toward the roots, gently separating shed hair from healthy strands. Once the section feels loosened, follow with a wide-tooth comb: never a fine-tooth comb or brush at this stage. Brushing dry, post-braid hair aggressively is one of the fastest ways to cause breakage.
Moisture Is Non-Negotiable
Dry hair breaks. Period. Post-braid hair is almost always dehydrated after weeks in a protective style, and dry strands have significantly less elasticity. As you detangle each section, mist the hair lightly with water or a leave-in conditioner spray. This increases the hair's flexibility and dramatically reduces snapping during combing. Think of it as giving the hair just enough slip to work through without resistance.
If you're noticing significant dryness, this is a signal that your hair needs deep conditioning as part of the post-braid restoration process: ideally before any heat styling is introduced.
Step 4: What to Do Once All the Braids Are Out
With the braids removed and each section loosely detangled, your natural hair needs immediate care. At this point, it's tempting to jump straight into styling, but skipping this step is where many women lose ground on all their protective style work.
Cleanse Without Stripping
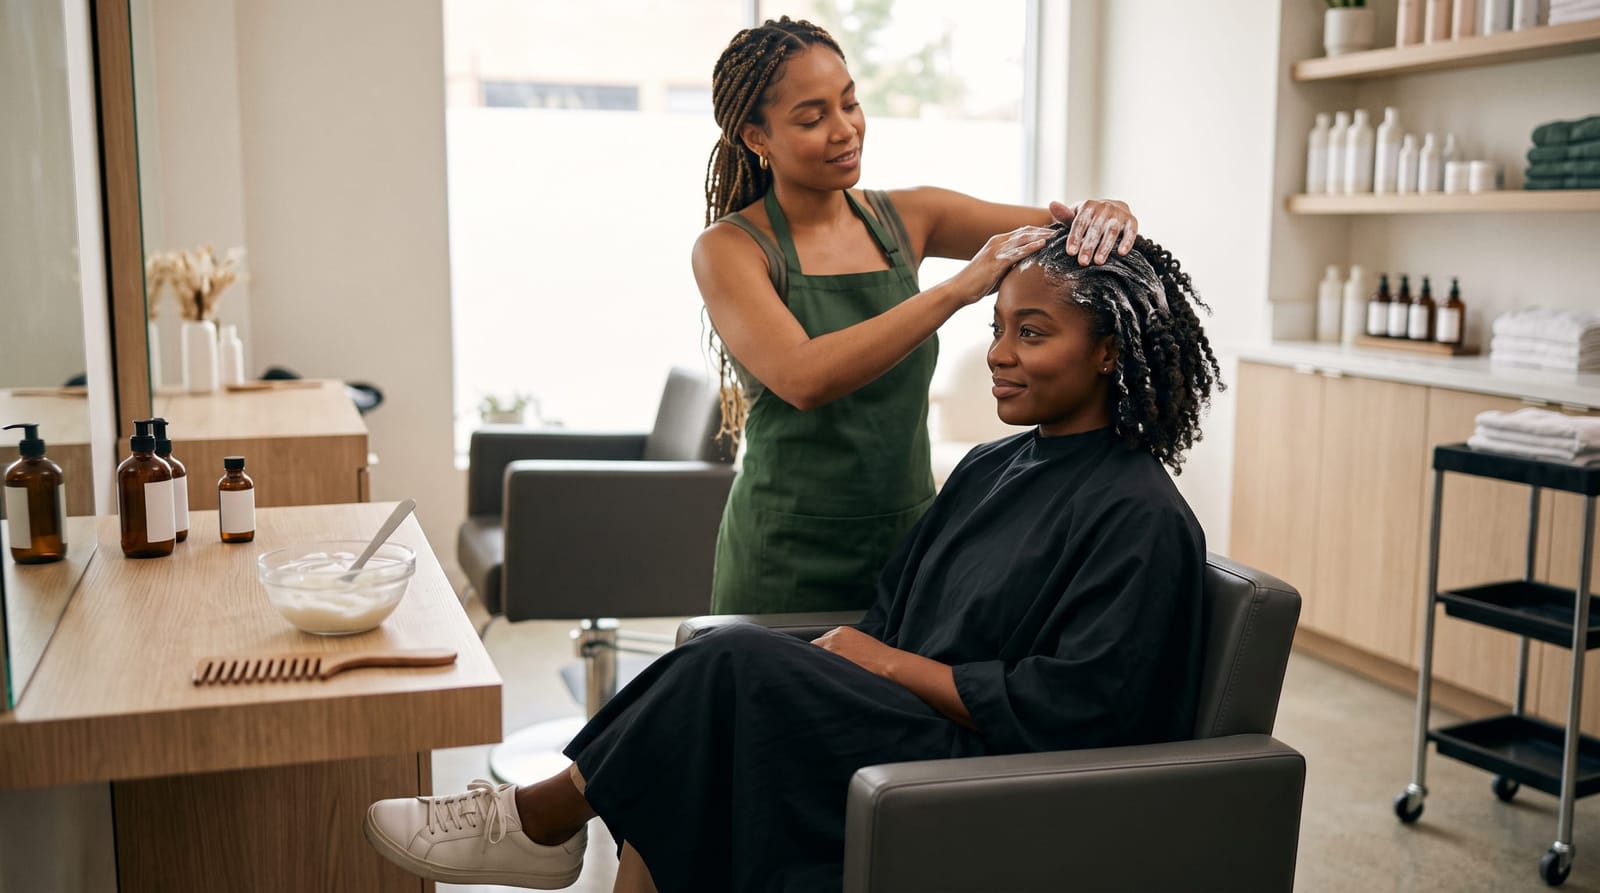
Your scalp has accumulated product buildup, sebum, and residue from weeks of braid wear. A clarifying wash or a sulfate-free cleansing shampoo is ideal here. Sulfate-free formulas cleanse effectively without stripping the moisture your hair already desperately needs. Wash in sections if possible, using a gentle massaging motion at the scalp rather than scrubbing the length of the hair, which can cause additional tangling.
Deep Condition Before Any Heat
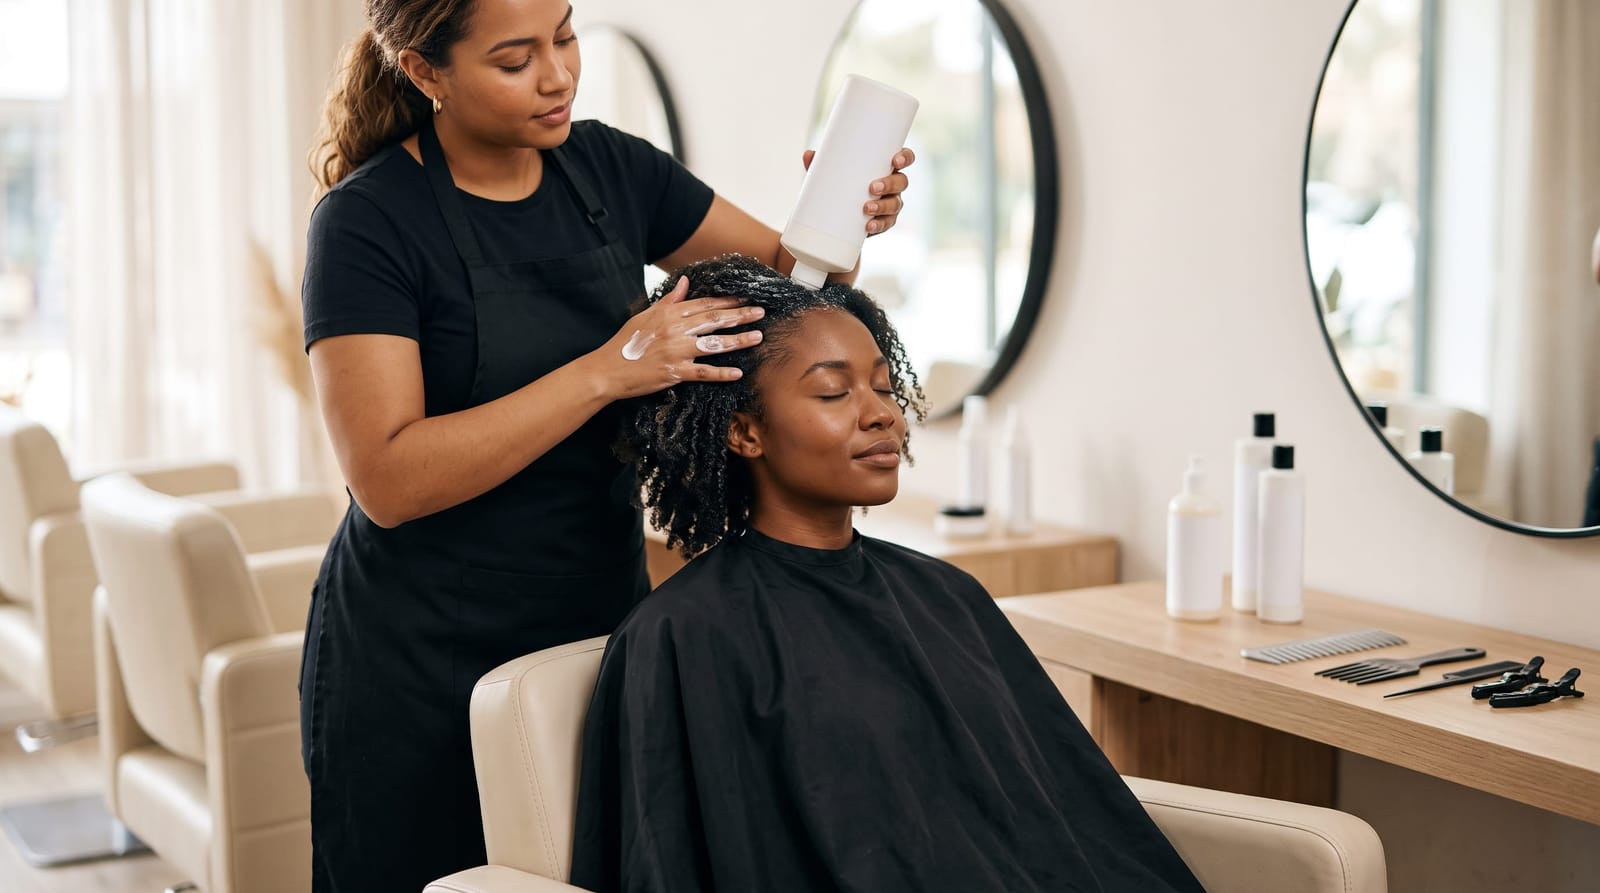
This is not optional. Post-braid hair needs a deep conditioning treatment before it's ready for blow-drying or any heat-based styling. A quality deep conditioner restores moisture, improves elasticity, and helps the hair return to its natural texture without the brittleness that leads to breakage. Leave the treatment on for at least 20 to 30 minutes with heat for best results. For a full breakdown of why this matters, deep conditioning after braids is one of the most important restoration steps you can take.
Consider What Comes Next Carefully
After weeks in braids, your hair is in a vulnerable state. If you're thinking about a relaxer or keratin treatment right after removal, it's worth knowing that your hair's condition should be properly assessed first. Jumping into chemical services on freshly removed braid hair without conditioning before chemical treatment is a common way to compound stress on already stretched strands.
Why a Professional Post-Braid Blow Out Is Worth It
DIY braid removal is absolutely possible, but there's a reason so many women in the DMV choose to book a professional service for post-braid care. A trained stylist can assess your hair's condition in real time and adjust the detangling and styling approach accordingly. That personalized attention is hard to replicate at home.
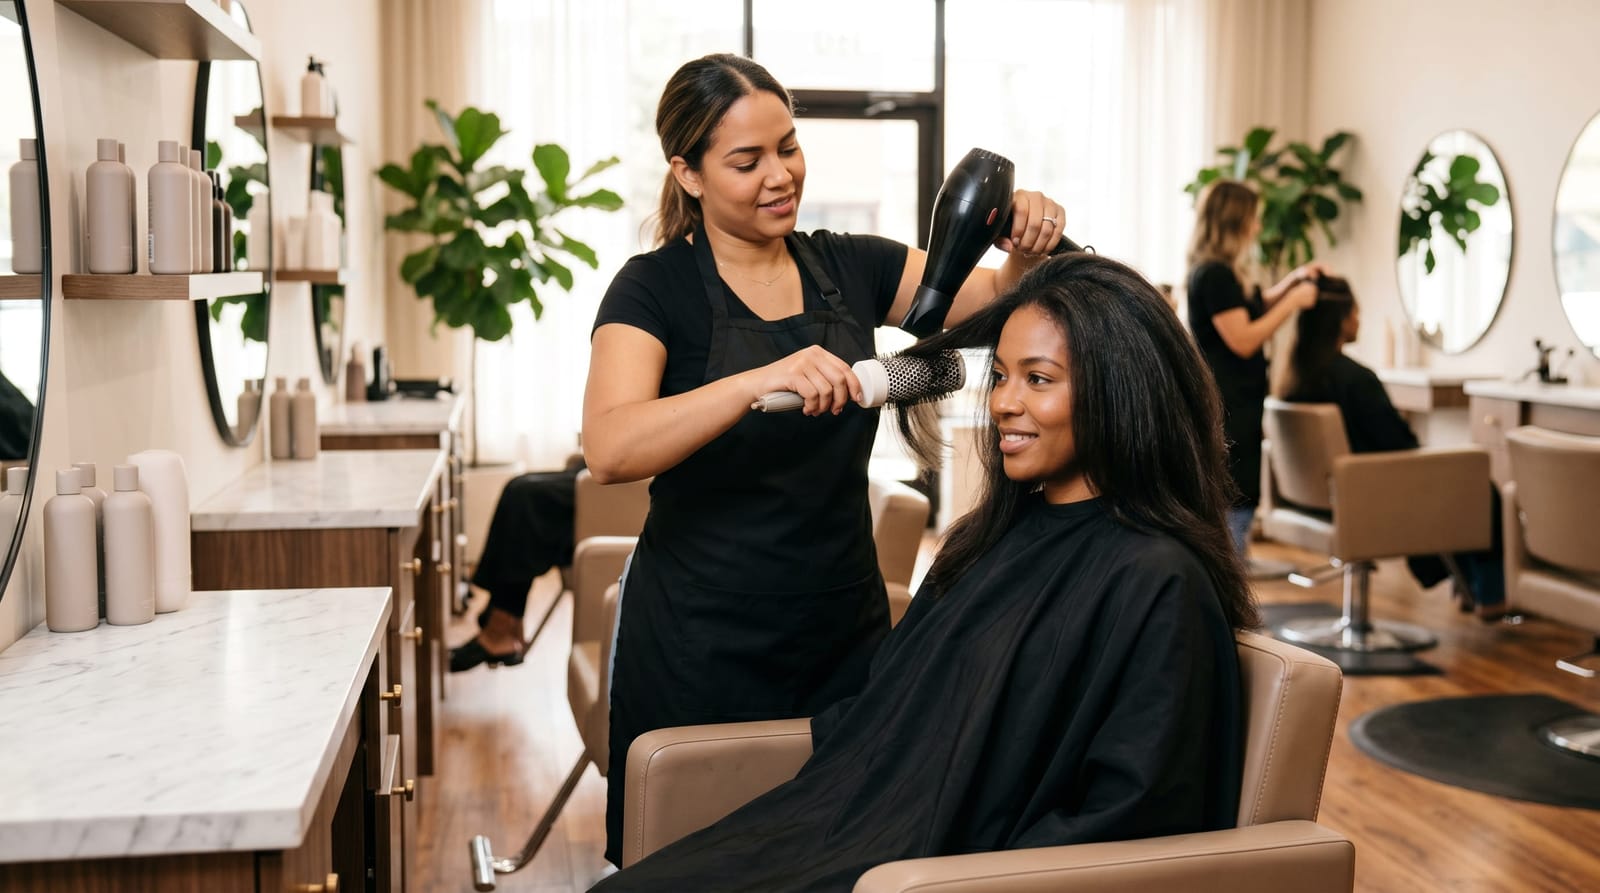
At Kabelly, the post-braid blow out service is designed specifically for this transition period. It includes professional detangling, a targeted cleanse, deep conditioning, and a controlled blow out that stretches the hair without applying damaging heat levels. The goal is to prevent extension damage while leaving your natural hair smooth, healthy, and fully restored.
What Makes a Professional Service Different
- Stylists are trained to identify areas of real breakage versus normal shedding
- Professional detangling techniques reduce friction significantly compared to DIY approaches
- Salon-grade deep conditioning products penetrate more effectively than most at-home options
- A blow out performed at the right tension and temperature reduces the stress on individual strands
For a full walkthrough of what the post-braid process looks like from start to finish, the guide on blow out for braids covers every step in detail, including what to expect during your salon visit.
Building Habits That Protect Your Hair Long-Term
How you handle braid removal affects not just this styling cycle but your hair's health over time. Repeated rough takedowns cause cumulative stress, especially around the edges and nape: two areas that are already the most vulnerable during braided styles. According to dermatologists who specialize in hair health, tension-related stress from poor removal technique is one of the most preventable causes of long-term hair thinning in the protective style community.
A few habits that make a meaningful difference over time:
- Avoid wearing braids longer than 8 to 10 weeks without a professional assessment
- Keep your natural hair moisturized even while it's braided: spritz the scalp and perimeter regularly
- Plan your takedown session with enough time to do it properly: rushed removal causes damage
- Book a professional post-braid service at least every other protective style cycle
Final Thoughts
Preventing breakage and shedding during braid takedown isn't complicated, but it does require patience, the right products, and a gentle technique. Preparation, moisture, and a bottom-up removal approach are the three pillars of a safe takedown. And when the braids come out, deep conditioning before any heat styling is the step that truly protects your investment in your natural hair.
If you're ready to let a professional handle the transition, Kabelly's post-braid blow out service is designed for exactly this moment: giving your natural hair the restore and refresh it deserves. Book your post-braid appointment with Kabelly in the DMV and walk out with your hair detangled, conditioned, and beautifully styled.