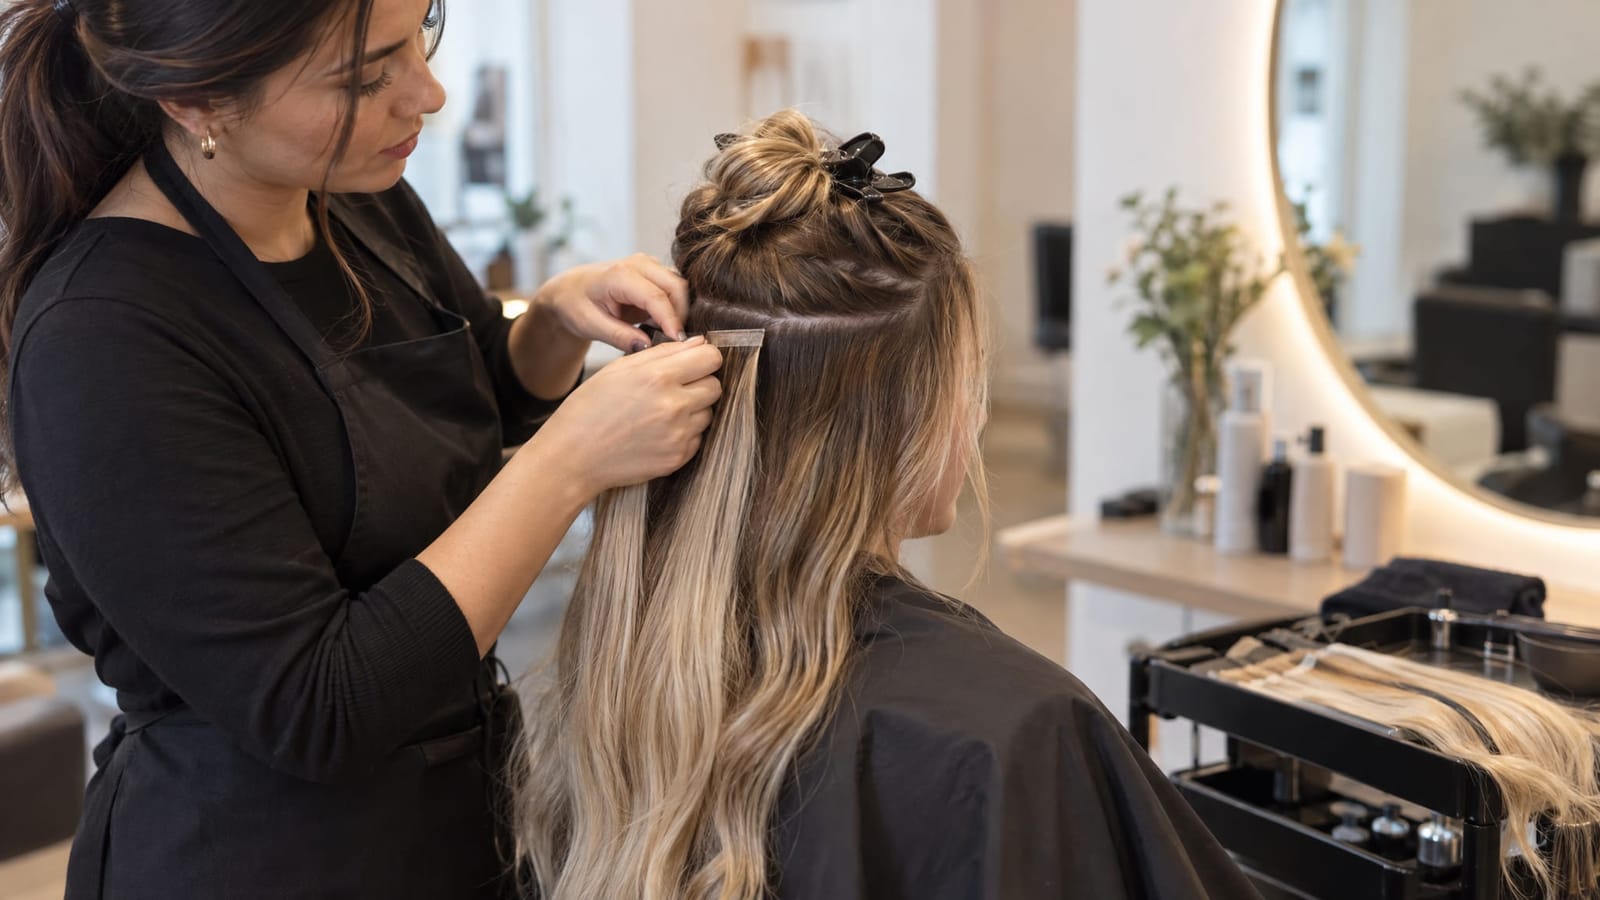
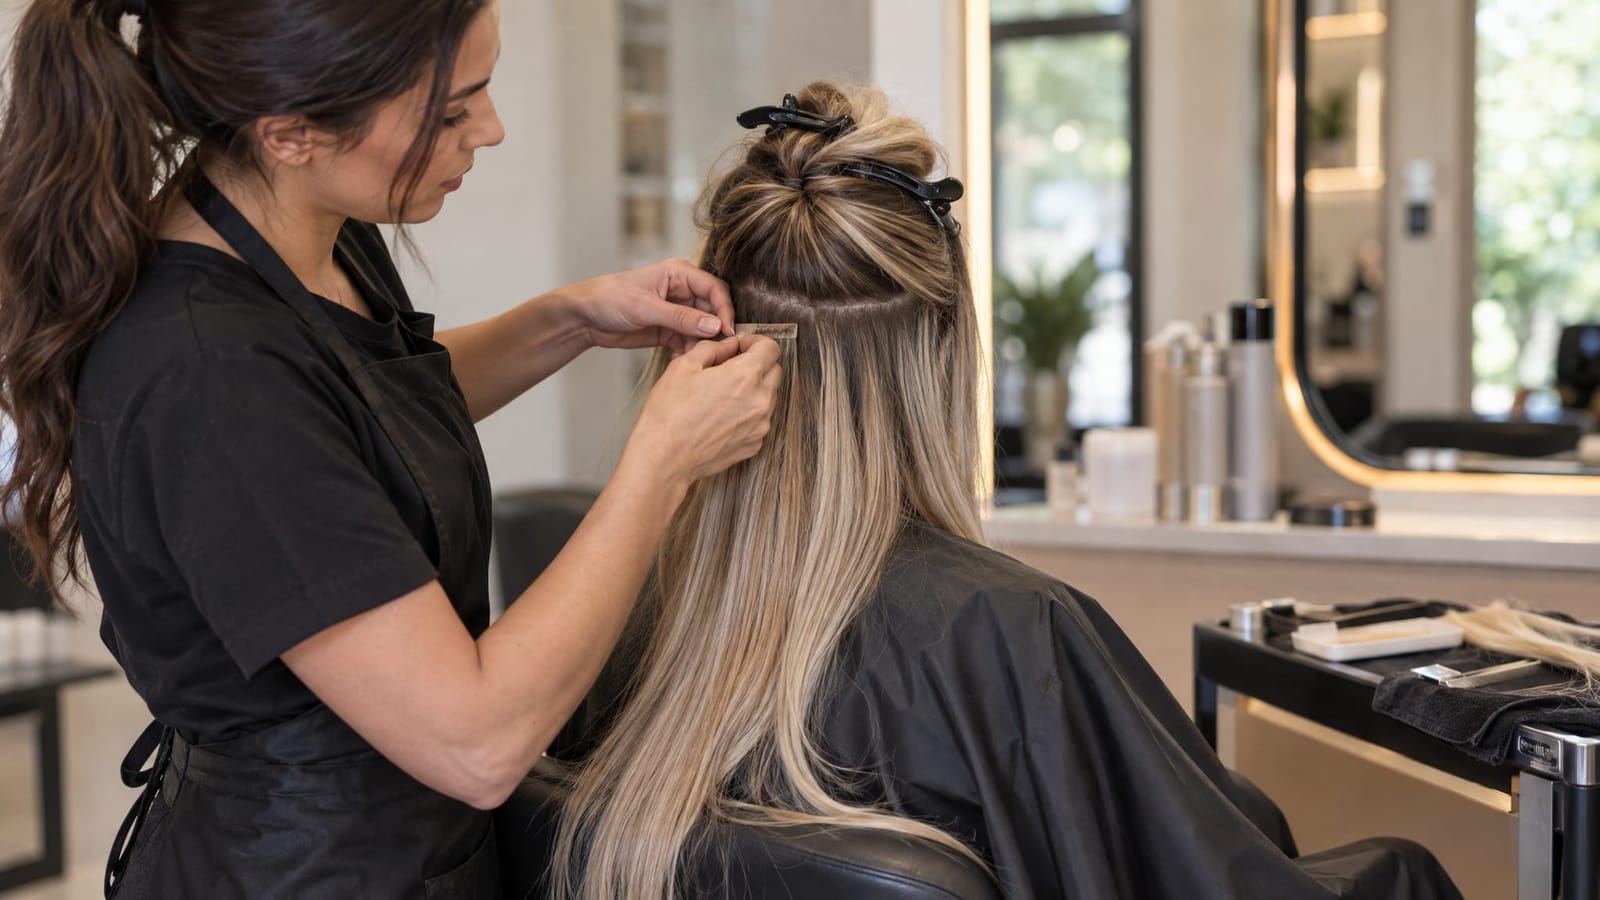
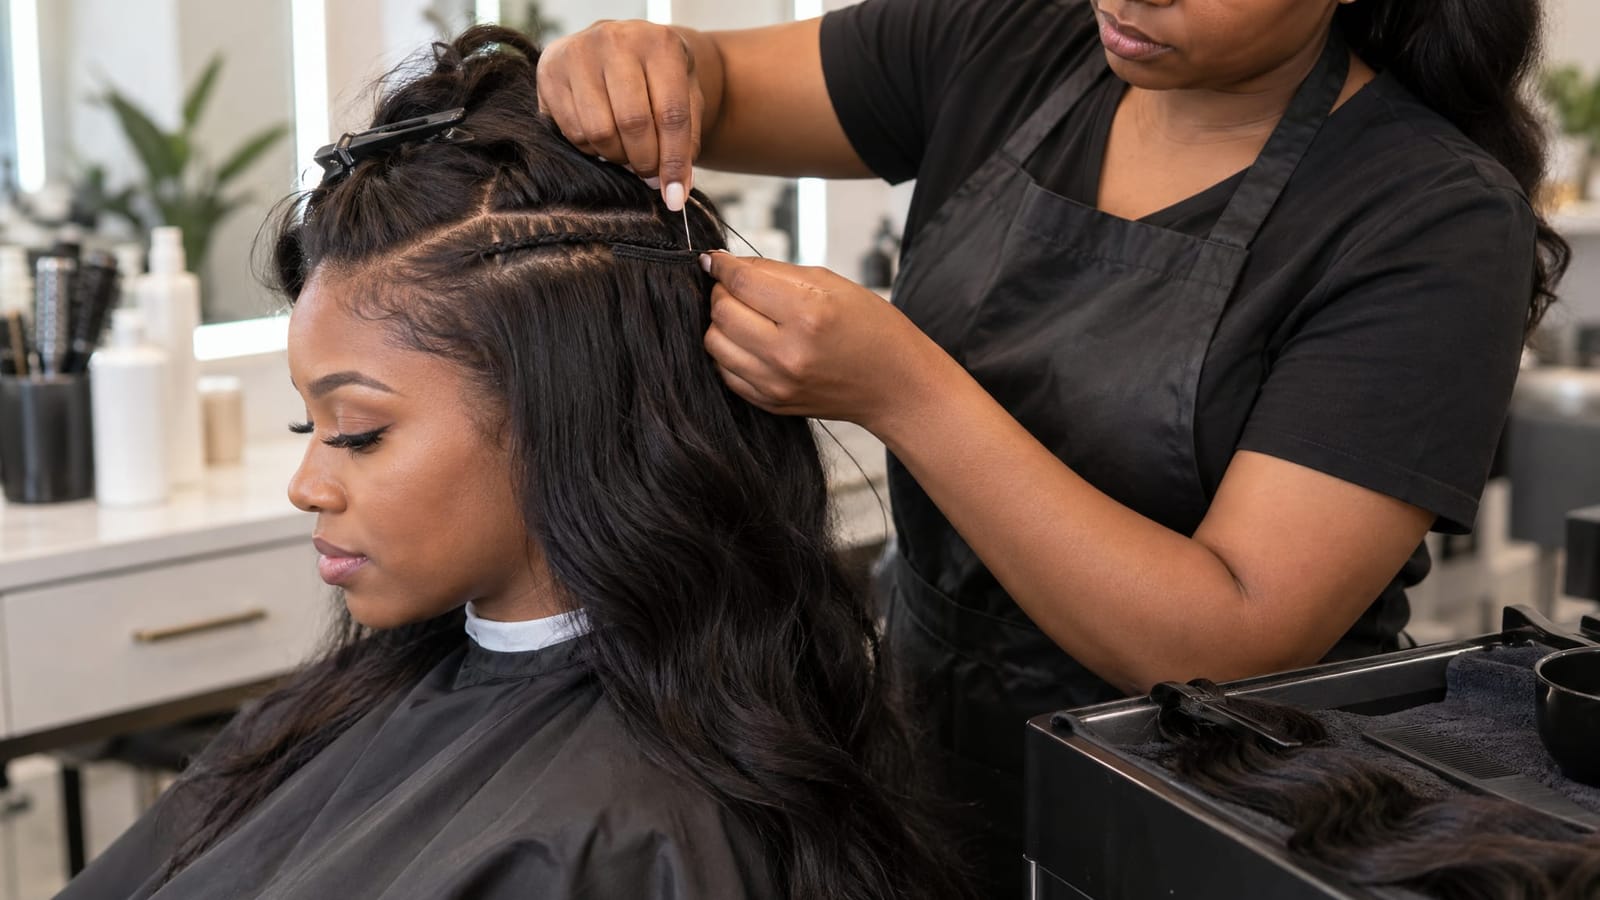
Clip-In Extensions: How to Style, Wear, and Care for Them Like a Pro
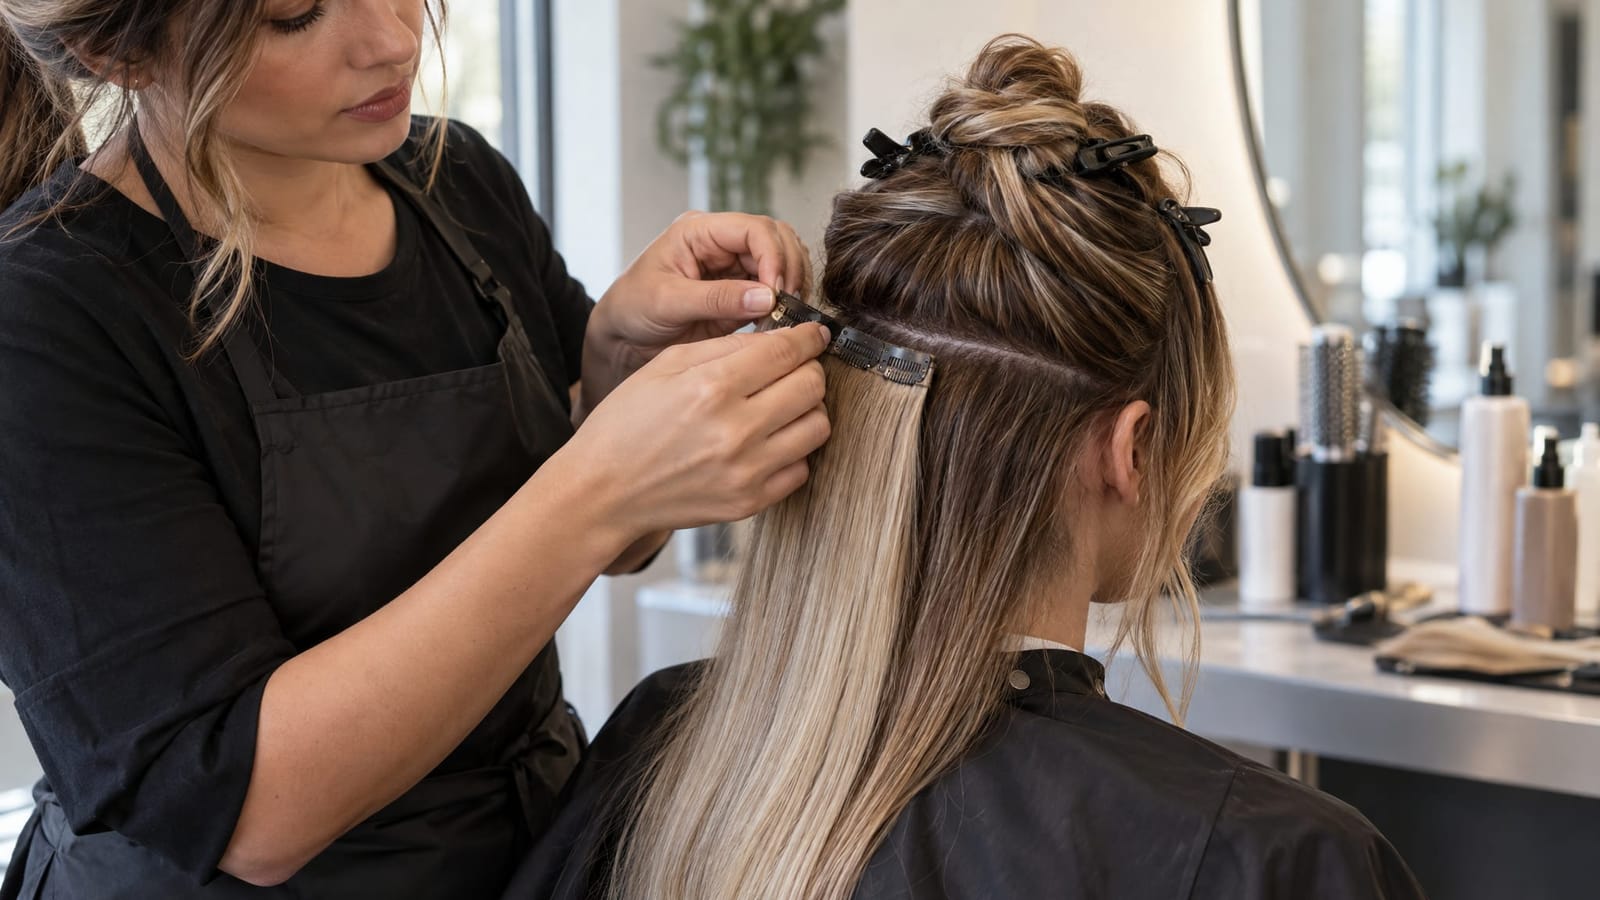
A polished clip-in style starts with placement, not extra heat. Attach each piece to a comfortable section of hair, leave enough of your own hair above it to cover the clips, and match the texture before adding finishing touches. More pieces do not always create a better blend.
Whether you want fuller curls, extra length, or a soft ponytail, the process follows the same order: prepare, place, blend, style, and remove gently. This tutorial walks through each stage, including when a professional trim or styling service can make the finish easier to manage.
Step 1: Check Your Extensions and Choose Your Finish
Before opening the clips, check whether your set contains human hair, synthetic fibers, or a blend. That distinction determines which tools and care products are appropriate.
- Human hair: May allow heat styling, but follow the set’s instructions, especially for processed or textured extensions.
- Heat-friendly synthetic hair: Use only the tools and settings permitted by the manufacturer. Heat-friendly does not mean suitable for every temperature.
- Synthetic hair without heat permission: Keep hot tools off the pieces and work with their existing shape.
Next, choose the finish you want to wear that day. Curly clip-ins usually blend most easily with a similar curl pattern. For a stretched or smooth style, compare the extensions with your hair in that state, rather than comparing them with freshly washed curls.
Check color in daylight, particularly through the middle and ends, where your hair and the extensions will overlap. A texture or color mismatch is not something repeated flat-ironing will solve.
Gather a simple styling kit
- Sectioning clips and a comb for making clean parts
- A brush or detangling tool suited to your hair and extension texture
- A mirror, plus a second mirror for checking the back
- Heat protectant and an adjustable hot tool, if the extensions permit heat
- A smooth-covered hair tie for ponytail styles
Lay the pieces out by width. The stitched strip holding each piece together is called a weft. Wider wefts generally suit the back of the head, while narrower pieces give more control at the sides.
Step 2: Prepare Your Hair Without Overloading the Roots
Start with dry, detangled hair. Prepare it in the texture you intend to wear: defined curls, a stretched finish, or a smooth blowout. Detangle the extensions separately, supporting each piece near the stitched band and working upward from the ends.
Keep heavy oils and rich styling creams away from the sections where clips will sit. Product-heavy roots can make the clips harder to secure. Use finishing products mainly where they serve a purpose, such as smoothing the ends or defining curls.
Decide on your part before installation. A center part, deep side part, and half-up style need different coverage. Changing the part after placing every weft often exposes a band that was hidden moments earlier.
Reserve enough hair around the hairline, part, and crown to cover the attachments. Avoid relying on short, delicate hairs at the edges to support a piece.
Step 3: Place the Wefts From the Lower Back Upward
Use your set’s placement diagram if it includes one, then adjust for your head shape and hairstyle. You do not need to wear every piece.
- Make the first horizontal part. Start across the lower back of your head, leaving a layer of hair underneath. Keep the row high enough that the clips do not sit on the fine hairs at the neckline.
- Choose a weft that fits the section. Its ends should sit within the area you can comfortably cover. Do not force a wide piece around a narrow section.
- Secure the middle, then the sides. For a multi-clip weft, position the center clip first. Slide it into a section near the roots and close it without pulling the hair taut. Attach the remaining clips with the band lying flat.
- Release another layer of hair. Create the next part above the first row. Leave hair between rows rather than stacking clips directly on top of one another.
- Add side pieces selectively. Place narrower wefts where you need fullness, keeping them back from the hairline and away from the part.
Check comfort before adding more
Turn your head and look down. The pieces should feel secure without pinching or pulling. If a clip tugs, open it and reposition it rather than tightening the surrounding clips.
Release the top layer and inspect the back and sides. A visible band usually calls for a lower placement, a smaller piece, or fewer wefts, not more product.
Step 4: Blend Your Own Hair With the Added Length
Blending means softening the point where your own hair ends and the extensions continue. Start by arranging both together with your fingers, then use the method that suits the texture.
For curls and coils
Work in small sections and encourage your hair and the extensions to sit in similar curl groupings. Finger-shaping can help where the textures already match. Avoid brushing a finished curly style simply to combine the layers, since that can change its definition.
If your hair has tighter curls than the extensions, decide whether to stretch your hair or choose a closer texture match. For frequent wear, a compatible pattern reduces the amount of restyling involved.
For smooth or softly waved styles
Check the ends of your own hair against the added length. A gentle bend or loose wave can soften the transition, provided both your hair and the extensions are suitable for the chosen styling method.
A short, blunt haircut paired with much longer extensions may still show a distinct shelf. Adding more wefts can make that area bulky. A customized shape is often more useful than extra density.
Step 5: Use Heat Selectively
If your extensions permit heat, use the lowest effective setting within their care instructions. Apply a compatible heat protectant as directed, and heat-style only when the hair is fully dry.
- Shape pieces separately when practical. Styling them on a suitable extension holder can make it easier to see the whole section and keep tools away from clips.
- Match the direction. If the front of your hair curves away from your face, shape the adjoining extension section in the same direction.
- Keep tools off the attachments. Work on the hair lengths rather than pressing a hot tool against clips or stitched bands.
- Let curls cool. Allow the shape to settle before separating it into a softer finish.
Touch up the sections that need it rather than reheating the entire set. If the textures remain visibly different, revisit the match or placement instead of repeatedly increasing the heat.
Step 6: Adapt Placement to Your Hairstyle
Wearing your hair down
Build fullness through the back first, then add side pieces only where needed. Check the style while moving the hair, not just while standing still. Leave enough coverage for your usual part and the way you tuck hair behind your ears.
Creating a half-up style
Separate the upper section before placing extensions. Keep the wefts below the intended dividing line so their bands do not appear when you lift the top. Release and check the upper section before securing it loosely.
Making a low ponytail
Position the pieces so their hair gathers naturally toward the ponytail base. Bring everything together gently, then inspect the sides and neckline before securing the tie. If a band buckles or a clip pulls, reposition the piece rather than pulling the ponytail tighter.
High ponytails and sleek updos change the direction of the hair and can reveal attachments. For a formal finish, extension styles for special events involve different placement choices from an everyday, hair-down look.
Step 7: Remove, Clean, and Store Your Set Gently
Remove every clip before bed
Work from the highest row downward. Lift the covering hair, open every clip on a weft, and then ease the piece out while supporting your roots. Never pull a closed clip through your hair.
Temporary clip-ins are designed for removal between wears. Taking them out before bed avoids leaving the attachments under pressure as you move. Our guide to sleeping with clip-in extensions explains the nighttime routine in more detail.
Wash according to buildup and the care instructions
Clip-ins do not automatically need washing after every wear. Product residue, tangling, and loss of movement can signal that cleaning is due.
- Detangle before washing.
- Use products and water temperature appropriate for the set’s material.
- Keep the hair aligned rather than rubbing or bunching it together.
- Apply conditioner where the care instructions allow, avoiding buildup around the clips.
- Let the pieces dry completely before storing them.
Close the clips and store dry pieces neatly in a protective case or storage bag. Keep the lengths untangled rather than packing them into a tight bundle.
Plan around swimming and exercise
Removing temporary clip-ins before swimming or a sweaty workout keeps them out of pool water and reduces unnecessary washing and restyling. Different attachment methods need different routines, which matters when considering working out or swimming with hair extensions.
Step 8: Recognize When Professional Customization Helps
Professional styling is useful when the pieces sit comfortably but the overall shape still looks disconnected. Common reasons include a visible line at your natural ends, too much fullness at the sides, or front pieces that overwhelm the haircut.
A stylist can assess the extensions in their intended positions before adjusting the shape. Simply cutting every piece to the same length can remove useful layering. The decision is about where the hair falls and where you want fullness, not just how many inches to remove. That is also central to choosing extension length and style for your face shape.
At Kabelly Dominican Salon in Clinton, Maryland, we offer Clip-In Extensions, Extension Style, Hair Trim, Haircut, and Wash & Blowout services. Styling and shape work address different needs: a blowout changes the finish, while a trim changes the outline.
If daily placement and removal do not suit your routine, comparing glue extensions, quick weaves, and braidless extensions can help clarify the maintenance tradeoffs between methods.
A Polished Finish Starts With a Comfortable Fit
Before leaving the mirror, check three things: the clips feel comfortable, the bands stay covered when you move, and the textures blend through the ends. If something looks off, adjust placement before adding heat or another weft. A thoughtfully arranged set often gives a cleaner, more natural-looking finish than using every piece.