What to Expect During Professional Extension Removal
If you've been wearing hair extensions for a while, knowing when and how to remove them safely is just as important as the initial installation. The professional extension removal process is often misunderstood: many clients worry it will damage their natural hair or take an entire afternoon. The good news? When performed by a trained specialist, removal is straightforward, relatively quick, and completely safe. In this guide, we'll walk you through exactly what happens during a professional extension removal session, from prep to post-removal hair care.
Why the Professional Extension Removal Process Matters
Attempting to remove extensions at home, especially without the right tools or products, is one of the most common causes of preventable hair breakage and loss. The professional extension removal process exists precisely to protect your natural strands throughout every step. A licensed stylist understands the chemistry behind each bond type, the correct tools to use, and how much tension is safe to apply during removal.
Improper removal can lead to significant damage: pulled roots, snapped strands, and even traction alopecia with repeated mishandling. In contrast, a professional removal session is designed to leave your natural hair in the same condition, or better, than when the extensions were installed. At a qualified Dominican salon in the DMV area, the professional extension removal process is treated with the same level of care as any other hair health service. Think of it as the closing chapter of your extension wear, one that sets the stage for your next install or a healthy hair reset.
If you're considering what type of extensions to get next, understanding the full cycle, including removal, helps you make a more informed decision for your hair type and lifestyle.
Step-by-Step Breakdown of the Professional Extension Removal Process
The professional extension removal process varies slightly depending on your extension type, but most sessions follow a similar sequence of steps. Here's what you can generally expect during your appointment:
Step 1: Consultation and Assessment
Before any tools come out, your stylist will assess the current state of your extensions and natural hair. They'll check for matting, slippage, or any areas where the bonds may have weakened. This step takes about 5-10 minutes and helps the stylist plan the most efficient and gentle removal approach for your specific extension type.
Step 2: Application of Removal Solution (If Required)
For keratin-bonded extensions, including K-tip and I-tip styles, a bond remover solution or gel is applied directly to each bond. This product breaks down the keratin adhesive, making the bond pliable enough to slide off without pulling on the natural hair. The solution typically sits for a few minutes before the stylist moves to the next step.
Step 3: Breaking Down the Bonds
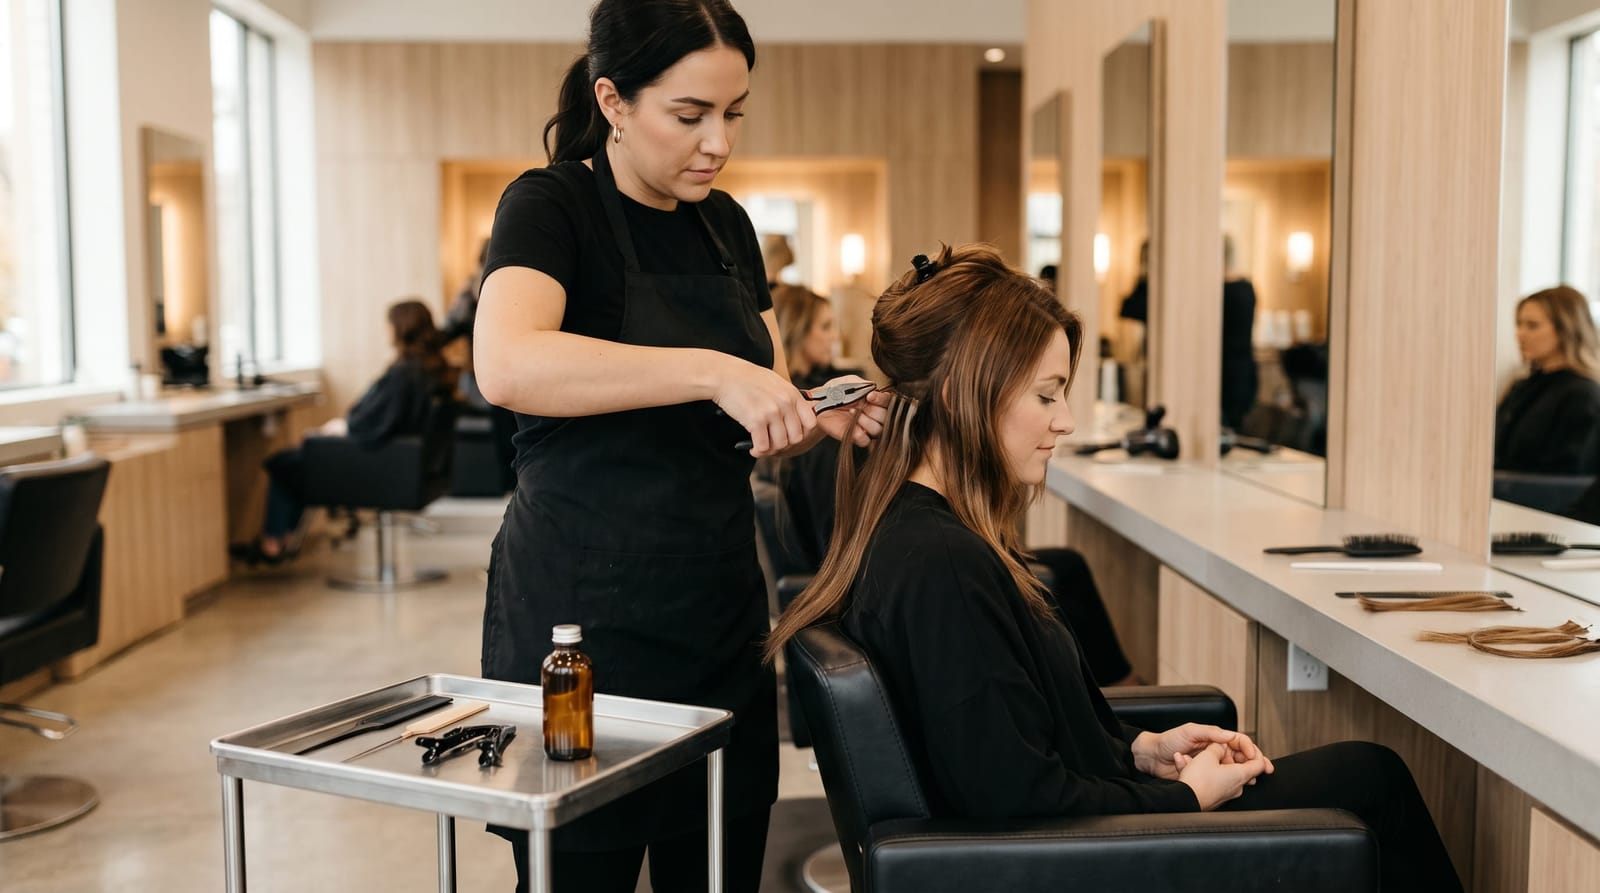
Using specialized extension pliers, the stylist gently squeezes each bond to crush and crumble the softened keratin. This is the most time-intensive part of the professional extension removal process for bonded styles. The stylist works methodically through each bond, section by section, to ensure none are pulled or forced out before they're ready.
Step 4: Tape Extension Removal
For tape-in extensions, the process differs. A tape remover solution is applied between the tape wefts, dissolving the adhesive. The wefts are then gently peeled away, starting from the bottom, without tugging the root area. Done correctly, this part of the professional extension removal process takes 45 minutes to one hour and leaves no adhesive residue on the natural hair.
Step 5: Detangling and Cleansing
Once all extensions are out, the stylist carefully detangles your natural hair using a wide-tooth comb and a detangling conditioner or spray. This step is critical. Natural hair that's been extended for weeks can experience some natural shedding accumulation, and proper detangling prevents unnecessary breakage as those strands are worked out gently.
How Long Does the Professional Extension Removal Process Take?
One of the most frequently asked questions about professional extension removal is how much time to block out in your schedule. The honest answer: it depends on your extension type and the volume you had installed, but here are realistic time expectations:
- Tape-in extensions: 45 minutes to 1 hour
- K-tip (keratin bond) extensions: 1 to 2 hours
- I-tip (micro-link) extensions: 1 to 1.5 hours
- Sew-in weaves: 30 to 45 minutes (cutting thread and removing wefts)
If you add a deep conditioning treatment or blow-out after removal, which most stylists in the DMV strongly recommend, plan for an additional 45 minutes to one hour. Budget at least two to three hours total for a complete removal and post-removal treatment appointment. Rushing the professional extension removal process to save time is never worth the risk to your natural hair.
Hair Care Immediately Following Professional Extension Removal
What happens in the hours and days after your professional extension removal session matters enormously for the health of your natural hair. Here's how to care for your hair right after removal:
- Deep condition immediately: After weeks under extensions, your hair has likely experienced some moisture loss. A deep conditioning treatment at the salon, or at home within 24 hours, will restore hydration and strengthen the hair shaft.
- Avoid heat styling for 48-72 hours: Give your scalp and strands time to recover before applying any direct heat. Use a heat protectant if you must style with heat sooner.
- Clarify your scalp: Use a clarifying or sulfate-based shampoo at least once after removal to clear any adhesive residue, buildup, or product accumulation from the extension wear period.
- Moisturize and seal: Apply a leave-in conditioner followed by a light oil or butter to lock in moisture and prevent breakage during detangling.
- Assess your hair's condition: Look at your edges, nape, and any high-tension areas for signs of thinning. If you notice significant shedding beyond normal, consult your stylist before reinstalling extensions.
Many stylists in DMV Dominican salons offer a removal-and-treatment package specifically because post-removal care is so critical. It's a worthwhile investment in your long-term hair health.
Frequently Asked Questions About Professional Extension Removal
Does the professional extension removal process hurt?
When performed correctly, the professional extension removal process should not be painful. You may feel slight pressure or minor tugging as bonds are broken down, but a skilled stylist works gently and methodically to avoid any pulling at the root. If you experience significant discomfort, let your stylist know immediately so they can adjust their technique.
Can I remove hair extensions at home to save money?
While it's technically possible to remove some extension types at home, it's strongly discouraged unless you have professional training. Without the right tools, bond remover solutions, and technique, DIY removal dramatically increases the risk of hair breakage, residue buildup, and even permanent damage to your follicles. The cost of professional extension removal, typically $75-$125, is far less than treating hair loss caused by improper removal.
How soon can I get new extensions after removal?
Most stylists recommend waiting at least one to two weeks between removal and reinstallation. This rest period allows your scalp to recover, reduces tension-related stress on the follicles, and gives you time to properly condition and strengthen your natural hair. In some cases, particularly if there are signs of thinning or breakage, your stylist may recommend a longer break before your next set of extensions.
Will my hair fall out after extensions are removed?
Seeing some shedding after professional extension removal is completely normal. During extension wear, your hair sheds naturally but those strands have nowhere to go, so they accumulate around the bonds. When extensions come out, you'll see this built-up shedding all at once, which can look alarming but is not the same as hair loss. However, if you notice thinning patches, weakened edges, or breakage that seems excessive, consult your stylist to evaluate whether a scalp treatment or recovery period is needed before your next installation.
Your Removal Is Just as Important as Your Install
The professional extension removal process is a critical, and often underestimated, part of the entire hair extension experience. From the careful application of bond removers to the post-removal deep conditioning treatment, every step is designed to protect your natural hair and keep it healthy between installations. Whether you wear tape-ins, K-tips, or sew-ins, trusting a trained specialist in the DMV area for your removal ensures your natural hair stays strong, vibrant, and ready for whatever style comes next. When removal is done right, your hair thanks you for it.