How to Style Clip-On Extensions for a Natural Blended Look
Clip-on extensions are one of the most versatile hair additions available: no commitment, no glue, and no waiting in a salon chair for hours. But getting them to look truly seamless is where most people run into trouble. If you've ever clipped them in and immediately noticed that telltale line between your natural hair and the extension weft, you're not alone. This guide walks you through the exact steps for clip on extensions styling that results in a natural, blended finish, and explains how the stylists at Ka Belly Salon approach this technique for clients across the DMV.
Why Placement Is Everything in Clip-On Extension Styling
Before you even reach for a clip, it's worth understanding that about 80% of a seamless blend comes down to where and how you section your hair. Poor placement is the number one reason clip-on extensions look obvious, even when the color and texture match well.
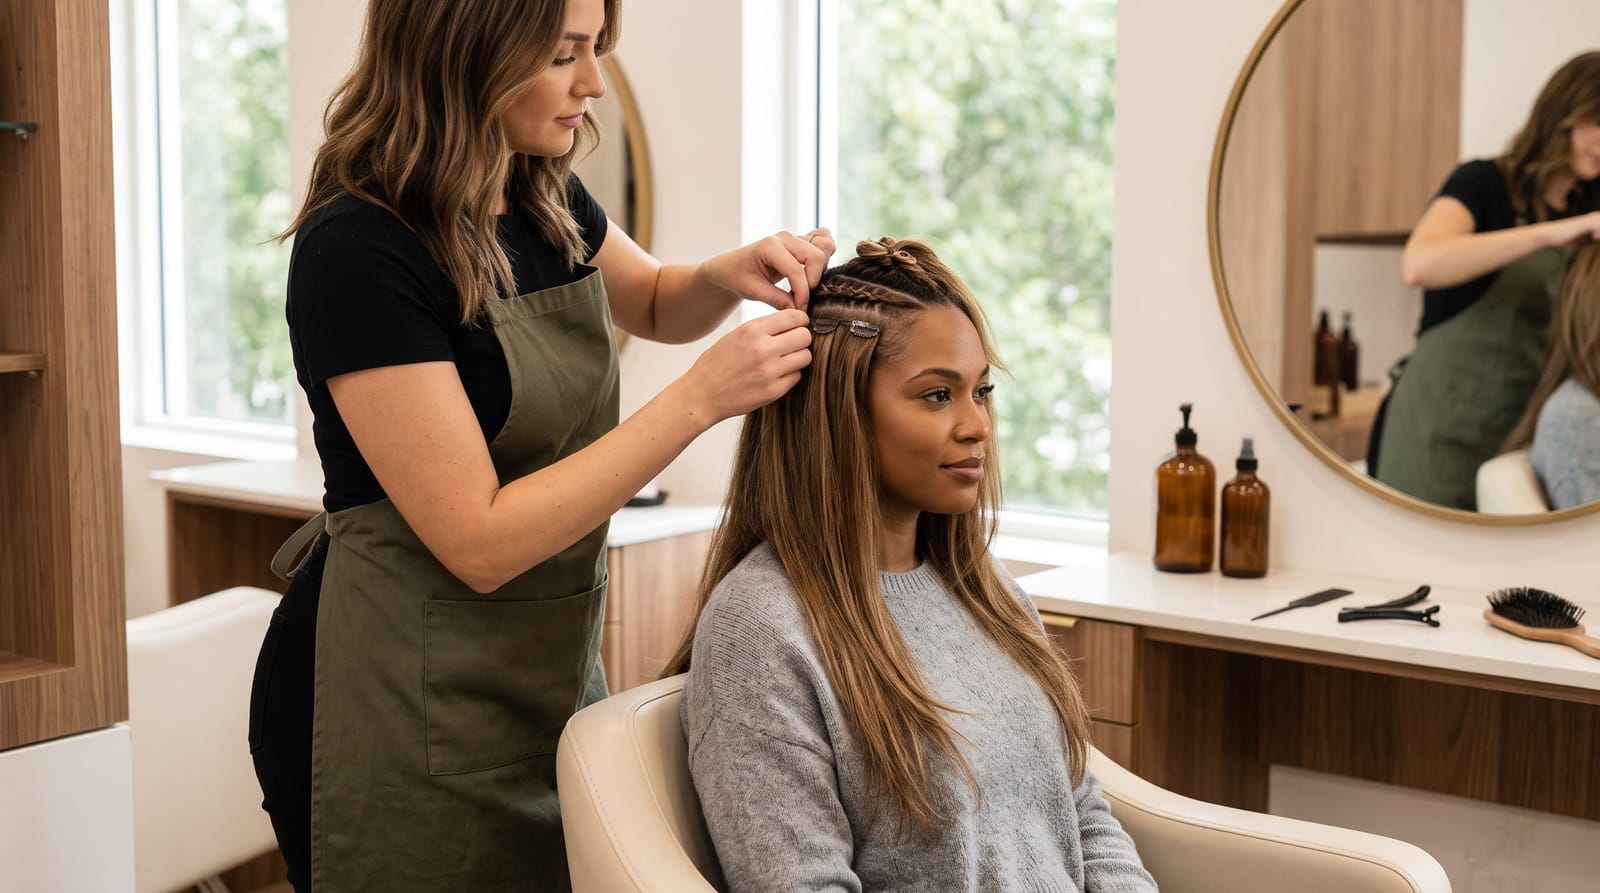
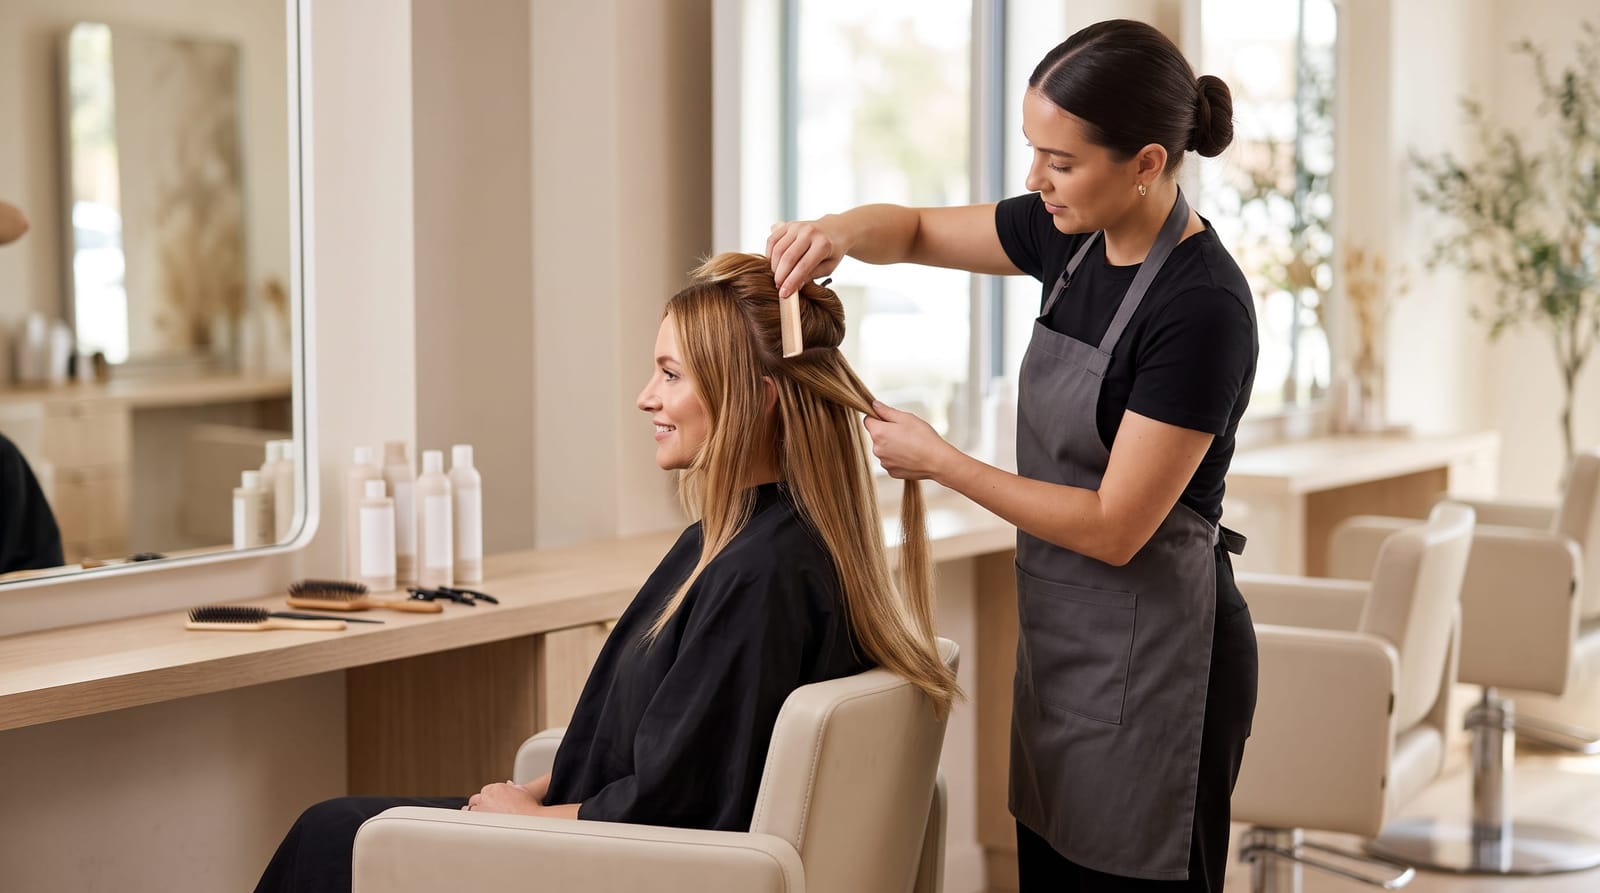
Start by sectioning your hair horizontally across the back of your head, roughly 1 to 2 inches above the nape of your neck. This first section is where your lowest weft will sit. Clip everything above it up and out of the way. The part you've created should be clean and straight: a tail comb works best for this step.
From there, work your way up the head, creating parallel horizontal sections. As a general rule, most full clip-in sets require 3 to 5 weft placements across the back of the head, with smaller single-clip pieces added near the sides and temples. One detail that makes a big difference: clip the wefts diagonally on the outermost corners rather than straight across. This small adjustment softens the edge and prevents that stiff, horizontal cut-off look that makes extensions obvious.
At Ka Belly Salon, stylists map out placement before the client even sits in the styling chair, taking into account hair density, natural growth patterns, and the desired final volume. It's a more personalized approach than simply clipping and going.
Teasing and Backcombing for a Secure, Invisible Hold
One of the most effective, and most underused, techniques for clip on extensions styling is light teasing at the root of each section before attaching the weft. This does two things: it gives the clip something to grip onto, and it creates a slight buffer that hides the clip itself under the natural hair.
Use a fine-tooth comb or a small teasing brush and gently backcomb just the root area of each horizontal section. You're not going for a full tease-out, just a light texture that helps the clip anchor without slipping. This is especially helpful for women with finer hair, where extensions tend to slide down throughout the day.
Once the weft is clipped in, release the hair above it and smooth it gently over the weft to conceal it completely. Don't tug or press too firmly: a light pass with a paddle brush is enough to lay the hair over the clip without disturbing the placement.
Studies on clip-in extension wear show that women who use a light root tease before clipping report extensions staying in place up to 40% longer throughout the day compared to those who skip this step. Small techniques, big difference.
Heat Styling for a Seamless Blend Between Natural Hair and Extensions
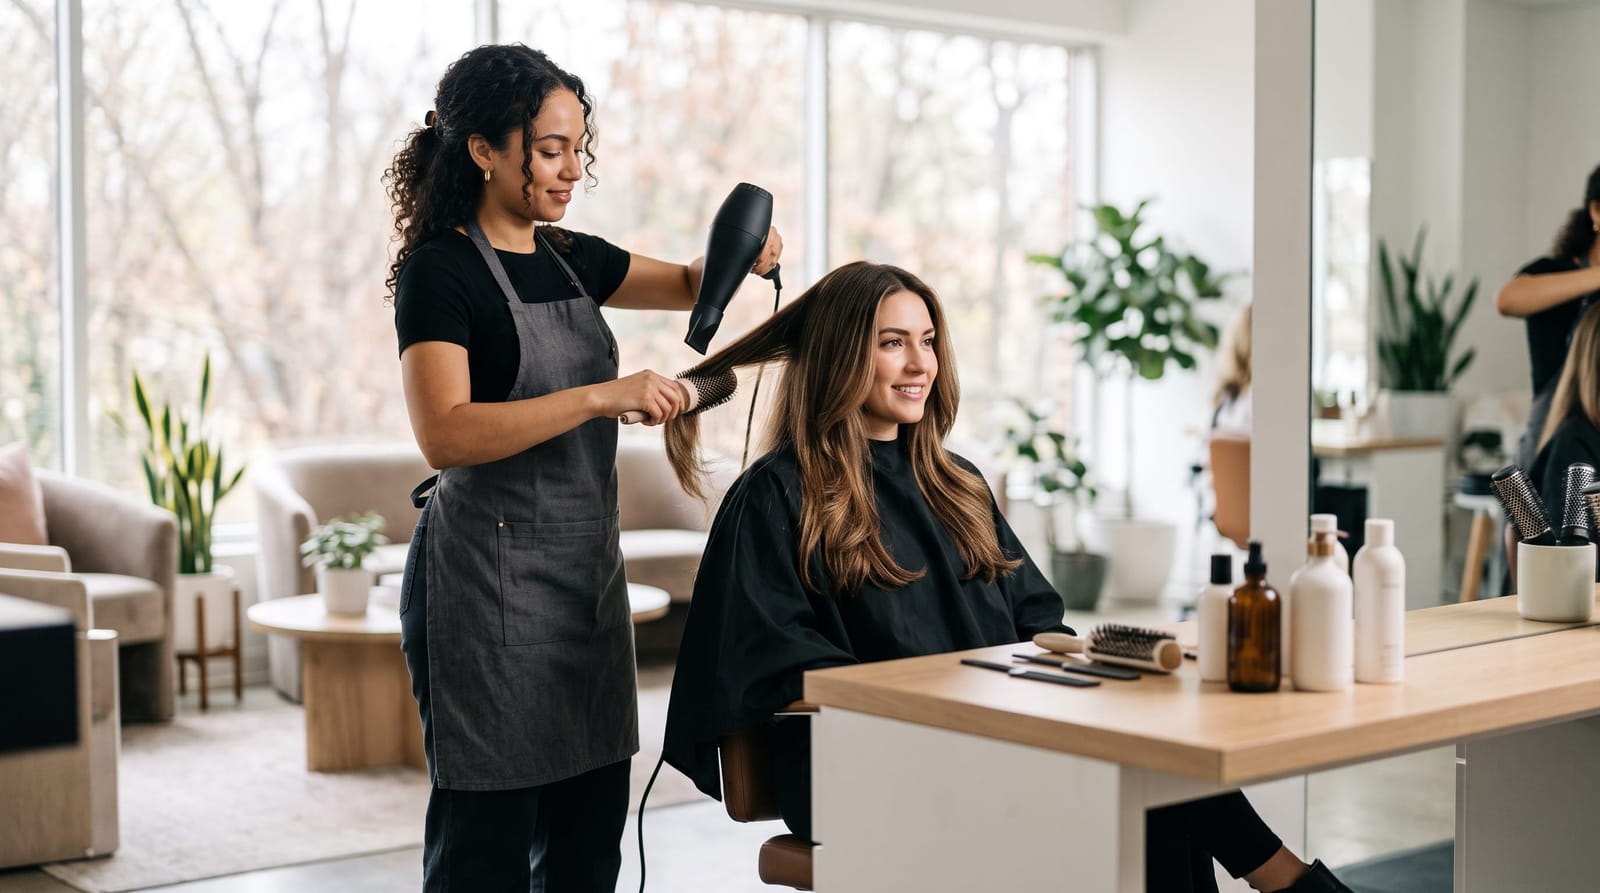
Here's something that surprises a lot of extension wearers: the most natural-looking clip on extensions styling results come from styling your natural hair and the extensions together, after everything is clipped in, not separately. When you curl or wave both at the same time, the texture merges and becomes nearly impossible to distinguish.
Before applying any heat, always use a heat protectant spray on both your natural hair and the extensions. This step isn't optional: clip-in extension hair, whether synthetic or human, can dry out with repeated heat exposure, and natural hair is just as vulnerable. A light, even mist across all sections before you begin is enough.
For the actual styling, loose waves created with a 1-inch to 1.25-inch curling wand are one of the most flattering and blendable options. Wrap sections that include both your natural hair and the extension hair around the barrel together, hold for 8 to 10 seconds, and release. This single motion unifies the texture across both.
Avoid curling too close to the clips themselves: keep the wand at least an inch above where each clip sits. Excessive heat directly on the clip area can weaken the weft over time.
Products That Help (and Which Ones to Avoid)
Clip on extensions styling is easier with the right products, and harder with the wrong ones. Here's a straightforward breakdown:
Use These
- Heat protectant spray: Apply before any curling or flat iron use. Look for a lightweight formula that doesn't leave buildup.
- Light-hold finishing spray, After styling, a fine mist of hairspray helps marry the curl pattern between your natural hair and the extension wefts.
- Serum or shine drops: A small amount applied to the mid-lengths and ends (never the root area) smooths the overall look and reduces any obvious texture difference between natural and extension hair.
- Dry shampoo at the roots: This adds grip and texture at the natural root, which actually helps extensions stay in place longer.
Avoid These
- Heavy creams or butters: These weigh the hair down and make the extension blending line more visible.
- Oil-heavy serums applied near the clips: Too much slip at the root means the clips can't hold as securely.
- Alcohol-based sprays directly on extension hair: Over time, these can dry out the extension fibers and shorten their lifespan significantly.
For a more complete breakdown of which products work best with extensions, including specific formulas recommended for maintaining extension health between wears, look out for our upcoming guide on what products to use for maintaining hair extensions: it covers everything from washing to daily care.
How Ka Belly Salon Approaches Clip-On Extension Styling in the DMV
Many clients come to Ka Belly Salon already owning a set of clip-on extensions but feeling unsure about how to make them look polished enough for real life. The stylists here don't just clip them in and hand over a mirror: they assess each client's natural hair texture, density, and face shape first, then build the placement and styling approach around those specifics.
For clients with finer hair, the focus is on strategic layering of wefts to add volume without overloading one area. For clients with thicker or curlier natural hair, the priority shifts to texture matching: ensuring the extension curl pattern complements the natural one rather than fighting it.
If you're weighing whether clip-on extensions are the right fit for your daily routine or a specific occasion, our post on clip on extensions styling versus glue extensions covers the lifestyle comparison in detail, including which option holds up better for everyday wear across different hair types.
The goal at Ka Belly is always a finish that looks like your own hair, just more of it, on a better day.
Frequently Asked Questions
How many clip-in wefts do I need for a full, natural look?
Most people need between 5 and 7 wefts for a full look: typically 3 larger wefts across the back and 2 to 4 smaller single-clip pieces near the sides. Finer hair may benefit from a few additional pieces, while thicker hair can often get away with fewer. The right number depends more on your hair's natural density than on the length of the extensions.
Can I wear clip-on extensions every day without damaging my hair?
Yes, clip-on extensions are generally safe for regular wear as long as they're removed before sleeping and aren't clipped into the same exact spots every single day. Rotating placement slightly each wear reduces tension on any one area. Most hair professionals suggest giving your scalp and natural hair at least one or two days per week without extensions to maintain a healthy baseline.
How do I match clip-in extension color to my natural hair?
The best match is usually achieved by comparing the extension color to the mid-lengths and ends of your natural hair, not the roots. Most people have variation in their hair color from root to tip, and matching to the mid-length gives the most blended result. When in doubt, it's worth bringing your extensions into a salon like Ka Belly so a stylist can assess the match under proper lighting.
Should I style clip-on extensions before or after clipping them in?
Styling after clipping them in almost always produces a more natural result. When you curl or wave both your natural hair and the extension hair together, the texture blends as a single unit. Styling separately, especially curling the extensions on their own before attaching, often creates two distinct curl patterns that sit side by side instead of merging.
Putting It All Together
Clip on extensions styling done well comes down to a few repeatable steps: precise sectioning, a light root tease for grip, a good heat protectant before any styling, and finishing everything together so the texture reads as one. When these elements come together, the result is hair that looks full, natural, and intentional, not pieced together. If you've been struggling to get your clip-ons to blend the way you want, the team at Ka Belly Salon is here to help you dial in your technique and find the approach that works best for your specific hair. Great extensions shouldn't look like extensions at all.